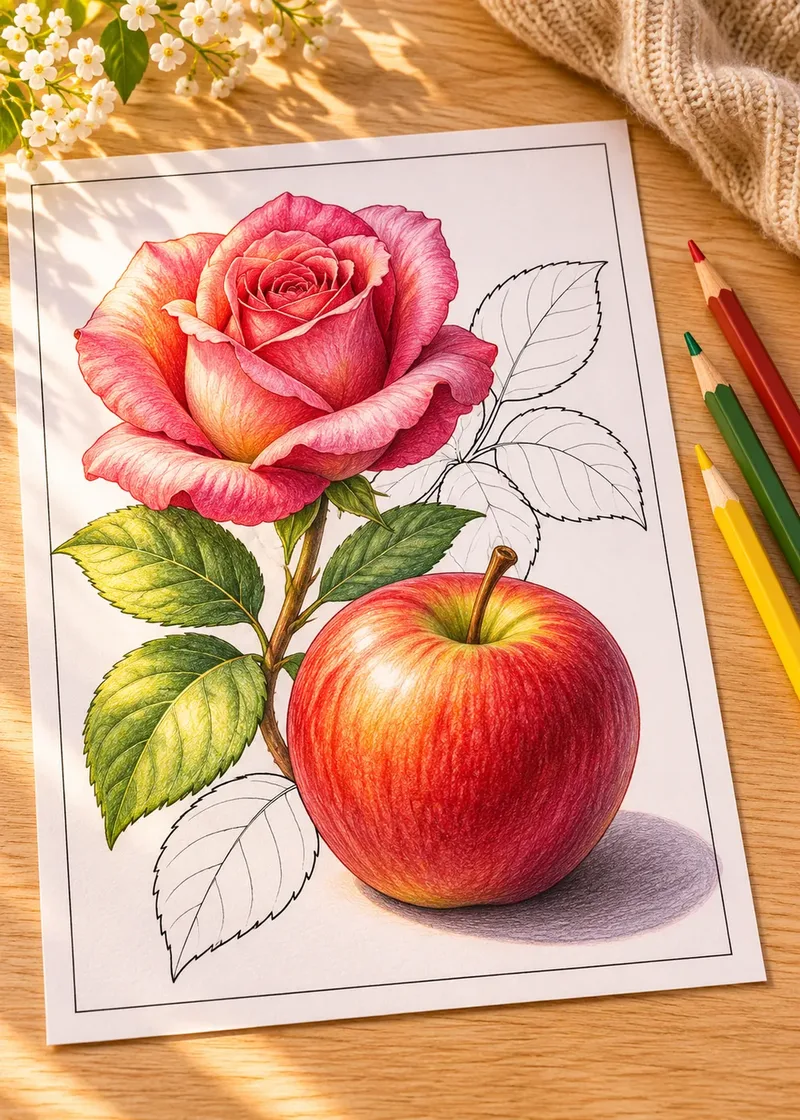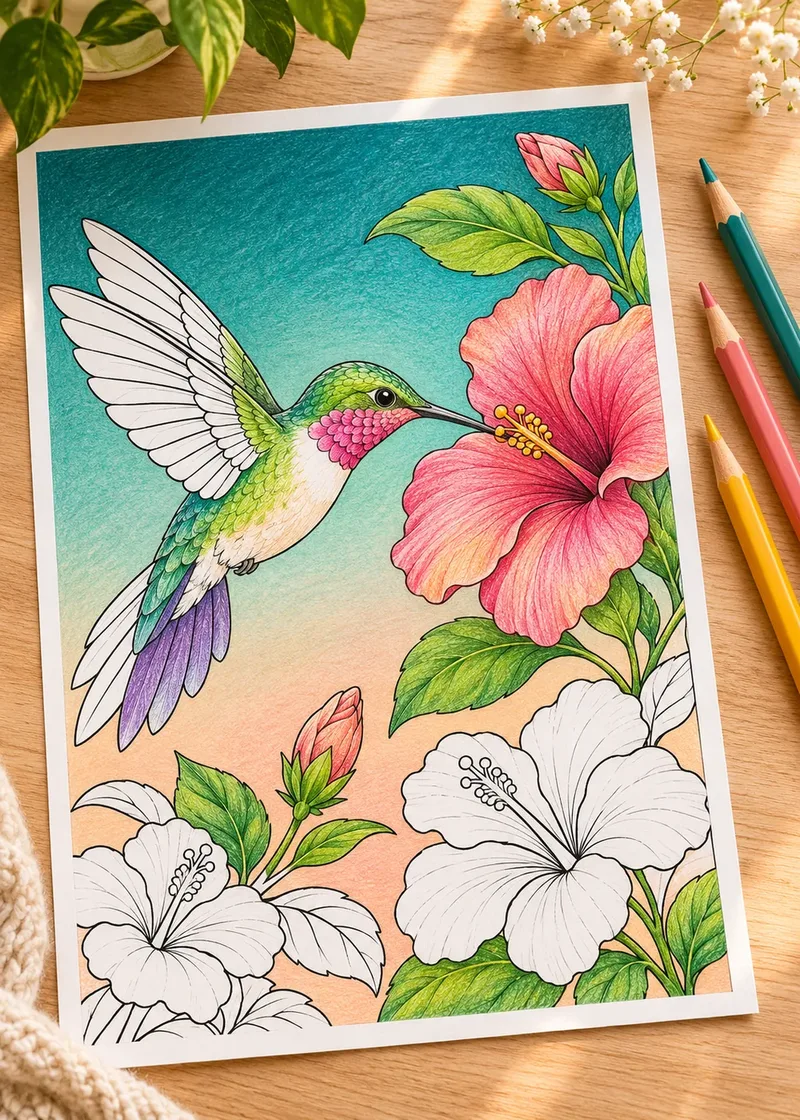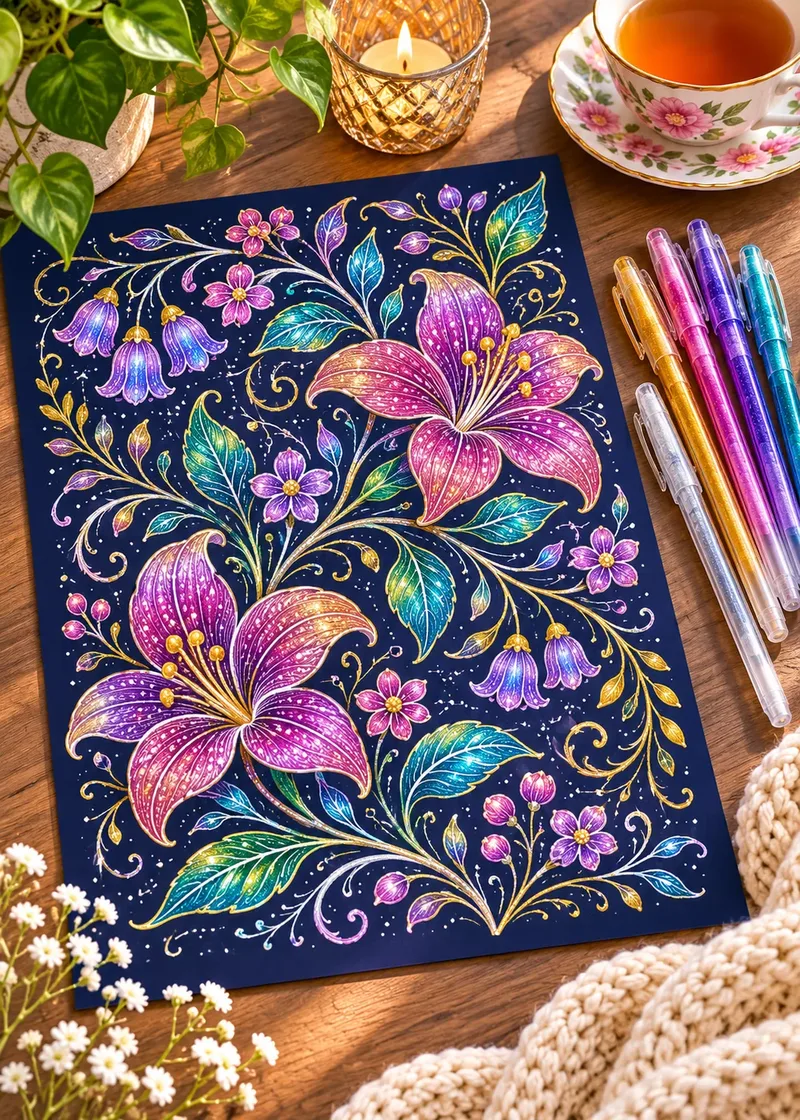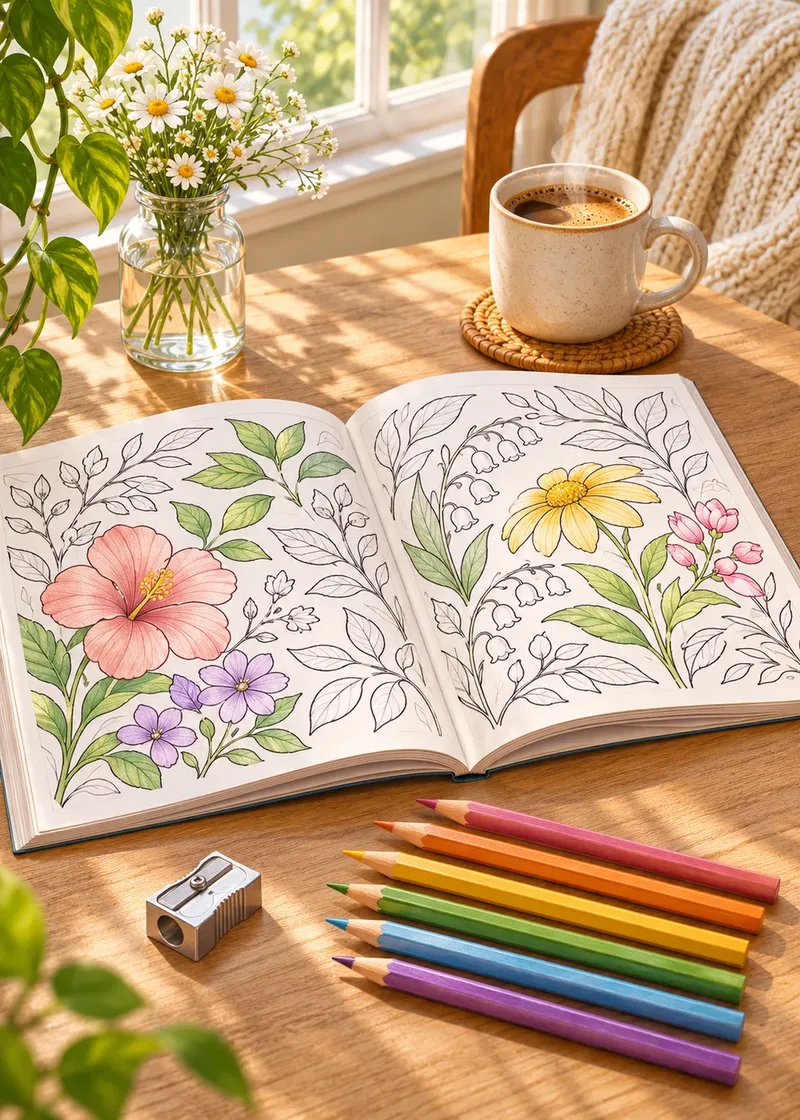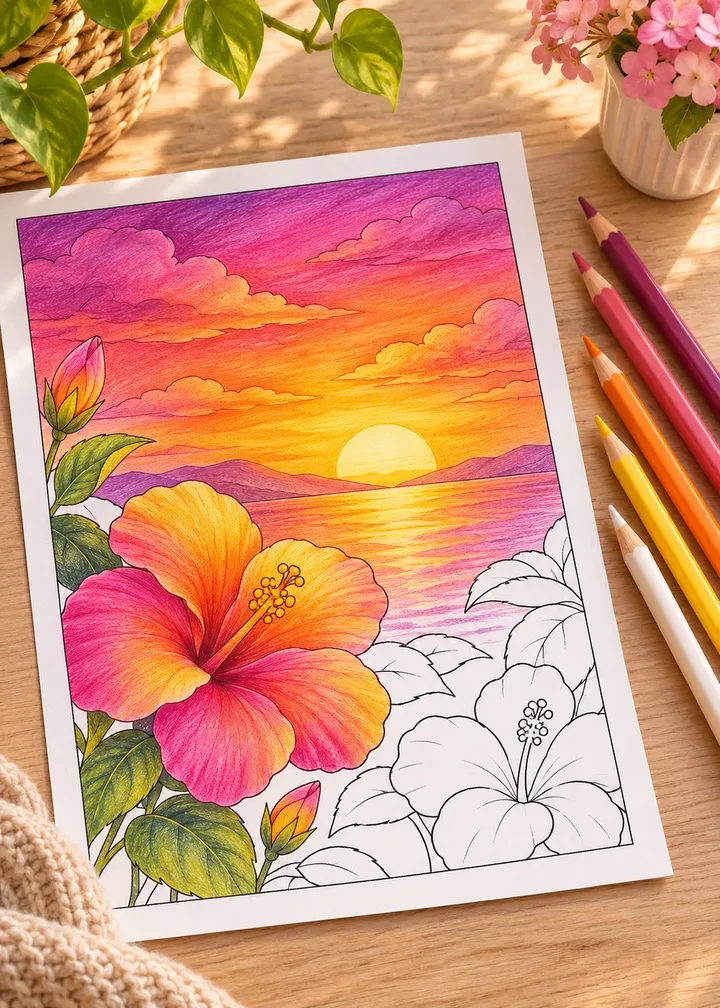
Flat color is lovely, but a gentle gradient is what makes a petal look soft or a sky look deep. The good news is that learning how to blend colored pencils is not a secret skill. It comes down to three things: light pressure, patient layers and a few reliable color pairs.
This guide explains how blending works, walks through a simple two-color gradient, compares the blending tools, and shares fixes for the problems everyone runs into at the start.
In short
- Press lightly and build several thin layers instead of one heavy one.
- Lay the lighter color first, add the darker one from the shadow side, then go back with the lighter one.
- Blend neighboring colors, and shade with deep blue, violet or brown instead of black.
- Burnish only at the very end: little color sticks afterwards.
- A colorless blender smooths without changing the hue; a white pencil smooths and lightens.
How colored pencil blending works
A colored pencil leaves a thin, slightly waxy or oily film of pigment on the tooth of the paper, the tiny peaks and valleys of its surface. When you press lightly, you only color the peaks, and the paper still shows through. When you add another color on top, the two mix optically, a bit like transparent layers of glass.
Blending, then, is mostly layering. Each light layer adds a little color, and the colors underneath stay visible. Press too hard too early and you crush the tooth flat; after that, new layers slide around instead of sticking.
Before you start
- Sharpen your pencils. A sharp point reaches into the paper’s tooth and gives even coverage.
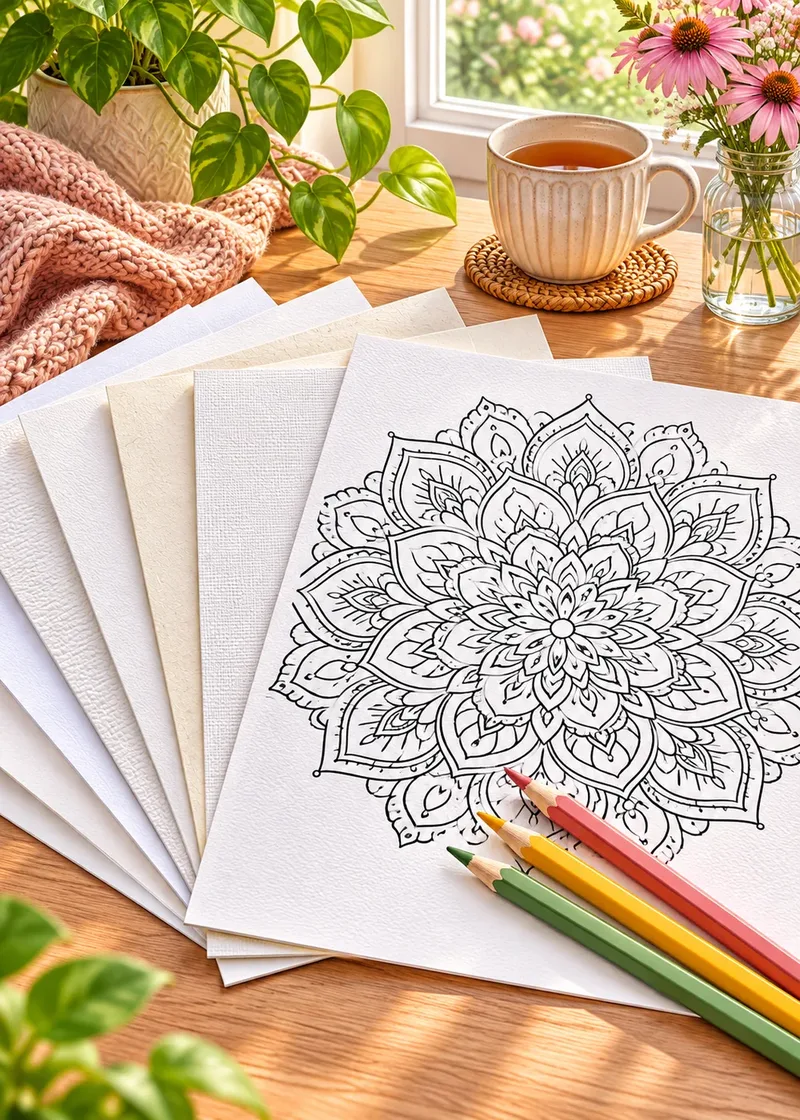
- Use a slightly heavier paper if you can. Thin paper wears out after a few layers. See our guide to choosing paper and printing at home.
- Keep a test strip. A scrap of the same paper lets you try a blend before committing.
- Hold the pencil farther back. Gripping near the end naturally lightens your pressure.
Pressure: the most important skill
Think of pressure on a scale from 1 to 10. Most blending happens between 2 and 4: you can see the color, but the paper texture still sparkles through. Save 6 and above for the very last layers.
Draw a value scale
Draw a small rectangle and fill it with one color, starting almost without pressure at the left and pressing gradually harder toward the right. Do it two or three times: this single gradient teaches your hand more than any tutorial.
How to blend colored pencils, step by step
Let’s blend from yellow to orange across a single petal or leaf shape. Work slowly: the whole sequence takes ten to fifteen minutes on a medium shape.
A two-color gradient
- Map the light and dark areas. Decide where the light falls: usually the center or one edge of a shape is lightest, and the side away from the light is darker.
- Lay a light base of the lighter color. Cover the whole shape with yellow at light pressure, in small circles or short strokes that follow the shape.
- Add the darker color from the dark side. With orange, start at the darkest edge and work toward the middle, lifting the pencil gradually so the color fades out before the lightest area.
- Go back with the lighter color. Run the yellow over the transition zone where the two colors meet. This pulls them together and softens the line.
- Repeat, slowly. Two or three rounds of steps 3 and 4 build a rich, smooth gradient; each round, the color gets a little deeper.
- Optional: burnish the finish. Go over the whole shape with firm pressure using the lighter color or a colorless blender pencil for a polished, almost paint-like look.
Once this feels natural, use exactly the same moves to shade round shapes. Our guide on how to shade coloring pages applies them to spheres, cylinders and petals.
Burnishing, explained
Burnishing means pressing hard enough to push the pigment into every valley of the paper, so no white specks remain. The surface turns smooth and slightly shiny, and the layers underneath fuse together.
Burnish with the lightest color of the area, with a white pencil if you want the area paler, or with a colorless blender if you want to keep the hue. Do it last, in small overlapping circles, and keep the pencil sharp. After burnishing, the paper tooth is full: new layers will skid. Plan any final dark accents before this step, or add them with a sharp pencil and firm pressure right afterwards.
Blender pencil vs white pencil
These two tools look alike and are often confused.
| Tool | What it does | Best for |
|---|---|---|
| Colorless blender pencil | Pure binder, no pigment: smooths and fuses layers without changing the hue | Keeping colors rich and saturated |
| White pencil | Smooths like a blender but also lightens the color | Soft pastel looks, highlights, misty skies |
| Lightest color of the area | Smooths and keeps the gradient in the same family | Petals, leaves, skin tones |
| Paper stump or tissue | Softens very light layers by rubbing | Soft pencils, early layers only |
If you only buy one extra, a colorless blender pencil is the most versatile. A white pencil is still worth having for highlights.
Easy color pairs that always blend well
Colors that sit next to each other on the color wheel blend beautifully. Here are reliable starting pairs and trios:
| Subject | Light | Middle | Dark |
|---|---|---|---|
| Warm petals | Pale yellow | Orange | Red |
| Cool petals | Light pink | Magenta | Violet |
| Leaves | Yellow-green | Grass green | Dark green |
| Sky or water | Light blue | Blue | Indigo |
| Wood or earth | Cream | Ochre | Brown |
For shadows, avoid black. A deep blue, violet or dark brown layered lightly gives a far more natural shadow and keeps colors clean. Our guide on how to choose a color palette explains why neighbors on the wheel work so well.
- Pale sky
#DCEFFBhorizon - Light blue
#9FD0EElower sky - Medium blue
#4A90C8middle - Indigo
#2E3A87top of the sky
Three worked examples: sky, skin and fur
A soft sky. Start with pale blue across the whole area, then add medium blue from the top, fading out halfway down. Finish the top band with indigo and blend back down with the light blue. For starry skies and galaxies, our night sky palette ideas give tested color sets.
Skin tones. Use a very light peach or cream as a base everywhere, then build the shadows with a light terracotta or a soft pinkish brown under the chin, around the eyes and on the side away from the light. Smooth with the base color or a colorless blender. Skin looks best with many very light layers and no burnishing until the end.
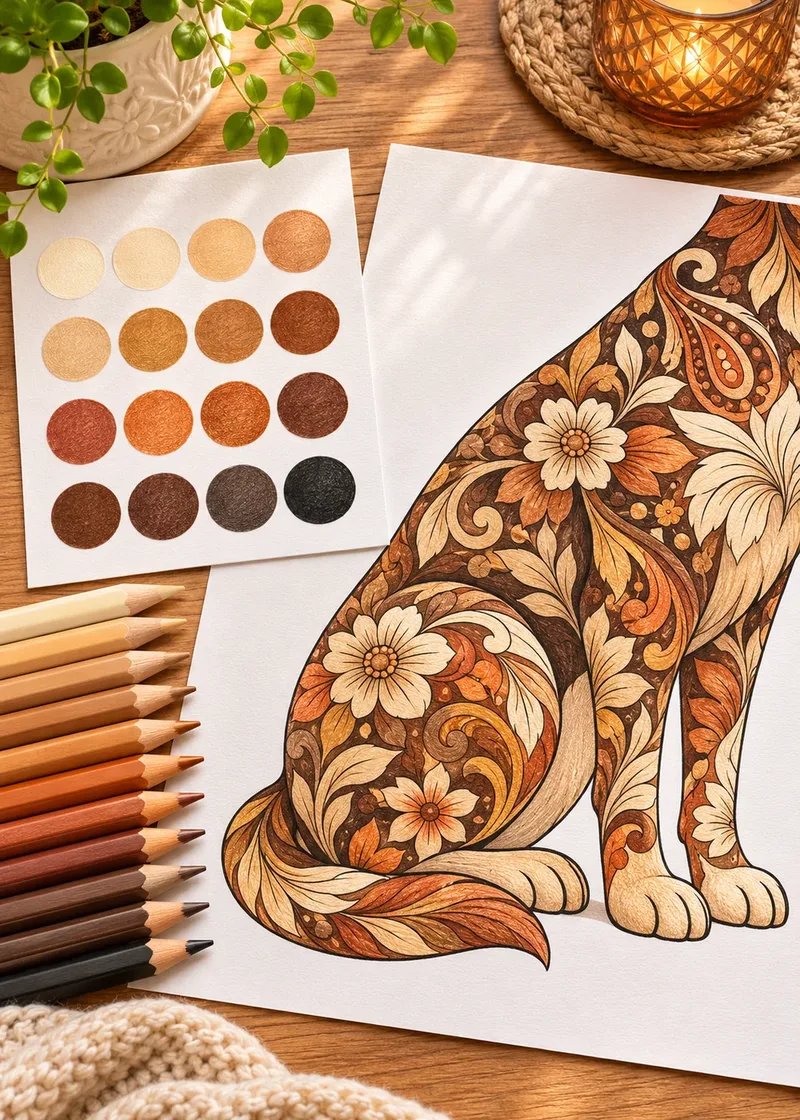
Animal fur. Fur is the exception to smooth blending: you blend the base, then add short strokes in the direction the hair grows. Lay a light layer of the lightest coat color, add the mid-tone in strokes, then the darkest tone only in the deepest clumps. Our step-by-step guide to coloring dog fur goes much further, and the dog coat color palettes give ready-made pencil sets.
Other blending methods
Pencils on their own are enough, but a few extras can help.
Solvent blending. Some colorists dissolve pencil layers with odorless mineral spirits or a dedicated pencil solvent on a cotton swab or a small brush, for a painted look. Use very little, work in a ventilated room, keep the bottle closed and away from children, and use thicker paper, since thin paper can buckle. Always test on a scrap of the same paper first. It is optional: you can get very smooth results without it.
Mixing wax-based and oil-based pencils. The two types layer well together. A common approach is to lay the early layers with the harder pencil and finish with the softer one, which covers more easily.
Why won’t my colored pencils blend?
Grainy, speckled color. You are seeing white paper through the layers. Add another light layer in a different direction, or burnish at the end.
A hard line where colors meet. The transition zone is too short. Fade the darker color out over a longer distance, then go over the area with the lighter color.
Shiny, slippery surface that won’t take color. The paper is saturated, usually from pressing hard early. Accept it as finished, or try the fixes in our guide on how to fix coloring mistakes.
Muddy colors. Too many colors in one area, or colors from opposite sides of the color wheel mixed heavily. Stick to two or three neighbors per shape.
Very hard pencils. Some budget pencils hold little pigment and barely blend. Warm the work up with more, lighter layers, and finish with a softer pencil or a blender.
Practice on the right designs
Large shapes are ideal for practicing gradients, so mandalas with wide petals or simple flowers are perfect. Start with our free coloring pages: leaves, petals and wide shapes are natural gradient practice. If you are just starting, our beginner’s guide to adult coloring helps you pick a first page, and if you want to go further, the guide on how to color backgrounds puts long, soft gradients to work behind your subject.
Blending rewards patience more than talent. After a few pages, your hand will find the right pressure on its own.
Frequently asked questions
Why won’t my colored pencils blend?
Usually because the layers are too heavy too early, which fills the paper’s tooth. Use lighter pressure, more layers and colors that sit next to each other on the color wheel. Very hard pencils and thin, smooth paper also make blending harder.
Can you blend colored pencils without a blender?
Yes. Layering the lighter color over the transition zone and burnishing at the end with that same color gives smooth results. A colorless blender or a white pencil is a convenience, not a requirement.
What is the difference between a colorless blender and a white pencil?
A colorless blender has binder but no pigment, so it smooths the layers without changing the hue. A white pencil smooths too but lightens the color, which suits pastels and highlights.
Can I blend wax-based and oil-based colored pencils together?
Yes, the two layer well together. Many colorists use the harder pencil for early layers and finish with the softer one.
How many layers of colored pencil can I add?
It depends on the paper and your pressure. With light pressure, smooth drawing paper usually takes several layers before it fills up; thin copy paper takes fewer. Keep firm pressure and burnishing for the end.