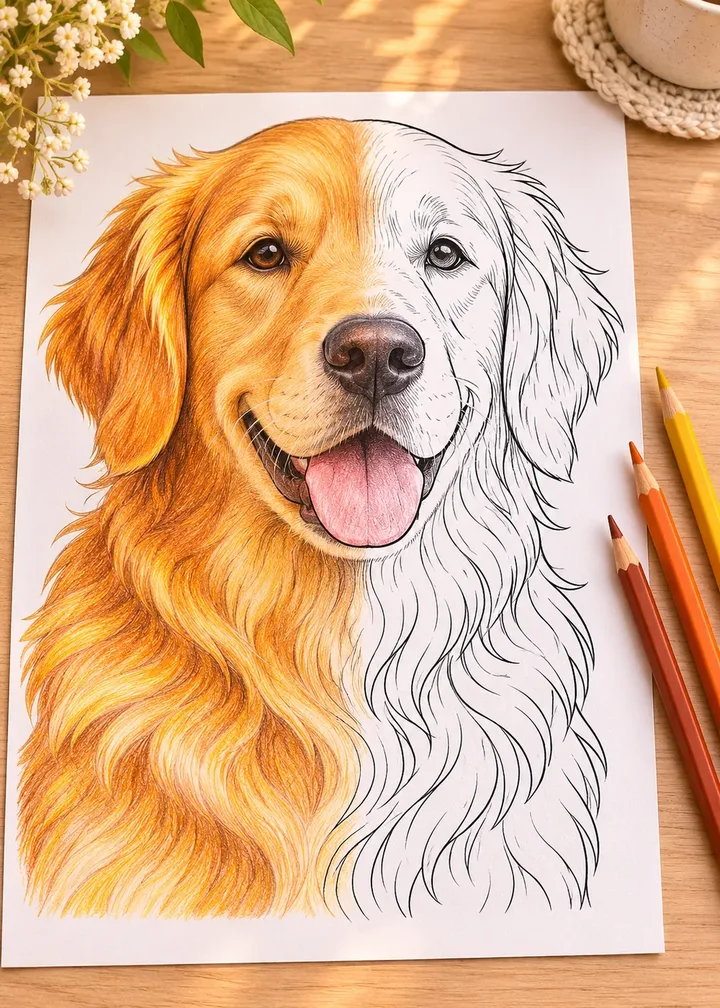
To color dog fur with colored pencils, work in short, flicked strokes that follow the direction the hair grows, build the coat from your lightest color to your darkest in thin layers, and protect the light areas from the very first stroke. That is the whole secret. Everything else in this guide is about doing those three things on a printed coloring page, where the line art already gives you most of the answers.
A dog page can look intimidating because fur seems to need thousands of tiny hairs. It does not. You color clumps of fur, light and shadow, and let a few well-placed strokes suggest the rest.
In short
- Read the line art first: the lines already show the direction of growth.
- Color clumps of fur, not single hairs.
- Use three or four pencils per coat color, light to dark.
- Keep highlights white from the start; pulling them back later is harder.
- Color the shadows of a white dog, and the reflections of a black one.
Before you start: read the fur in the line art
Five minutes of looking saves an hour of fixing. On a coloring page, the line art has already made the hardest decisions for you.
Find the direction of growth
Look at the small interior lines inside the dog’s outline. They are not decoration: they show which way the fur lies. On most dogs, hair grows away from the nose, over the top of the head toward the ears, down the neck, and along the back toward the tail. On the legs it runs downward, toward the paws. Lightly trace a few of those directions with your finger before you pick up a pencil.
Group the fur into clumps
Real fur falls in locks and tufts. Each clump has a light top where the light hits and a darker base where it tucks under the next clump. Once you see the page as a collection of clumps, each one is a small, easy shape to shade, and the whole coat suddenly looks manageable.
Decide where the light comes from
Pick one light direction, usually upper left, and keep it for the whole page. Clump tops facing the light stay pale; the undersides, the chest under the chin, and the belly get the darker values. A consistent light source is what makes a coat look round instead of flat. For the same method on any shape, see how to shade coloring pages.
What you need
You do not need a huge set. For one coat color, three or four pencils from light to dark do most of the work:
- Colored pencils: a light, a mid and a dark version of the coat color, plus one very dark neutral such as dark brown or indigo.
- A sharpener: fur strokes need a sharp point. Sharpen often, every few minutes of fine work.
- A white pencil: for softening and burnishing the light areas at the end.
- A kneaded eraser: press and lift it to pull color back out of highlights.
- A white gel pen (optional): for the sparkle in the eye and a few bright whiskers.
Smooth, slightly heavier paper takes more layers before it turns waxy. If you print dog pages at home, our guide to the best paper for printing coloring pages explains what to look for.
Step by step: how to color a medium-brown dog
Here is the full sequence on the most common coat, a warm medium brown. The same order works for any color: only the pencils change. Our dog coat color palettes give the light-to-dark pencils for twelve common coats.
- Cream
#F3E3C3highlights, base layer - Golden tan
#D9A15Blight fur - Warm brown
#9C6230mid tone - Dark chocolate
#4E2E1Ashadows, gaps - Indigo
#2E3350deepest accents
Five layers for a medium-brown coat
- Map lights and darks very lightly. With the mid brown and almost no pressure, mark where the shadows sit: under the ears, under the chin, between the legs. Leave the highlights untouched.
- Lay the base with the lightest color. Cover the whole coat with cream or golden tan in short, flicked strokes in the direction of growth, skipping the brightest highlights.
- Add the mid tone in each clump’s shadow side. Use warm brown on the lower half of every clump, letting the strokes fade out toward the light top.
- Put the darkest color only in the deepest gaps. Dark chocolate goes where clumps overlap and where the body turns away from the light; touch indigo into the very deepest spots.
- Pull the lights back. Lift any color that crept into the highlights with the kneaded eraser, then burnish the lightest areas gently with the white pencil.
How to make the fur strokes
The flick is the key movement. Put the point down at the root of the hair, press lightly, and lift as you move toward the tip, so the stroke tapers to nothing. Strokes should be the length of the fur: short for a smooth coat, long for a feathered tail. Vary their angle very slightly so they overlap like real hairs instead of lining up like a comb.
Keep the pressure light for the first layers. Heavy pressure early flattens the paper’s texture and leaves no room for the darker layers that create depth. If you want smoother transitions between the brown tones, our guide to colored pencil blending covers layering and burnishing in more detail.
Leave the white early
The brightest highlights on a dog are the paper itself. Decide where they are before your first stroke and color around them. Erasing back to clean white after three layers rarely works as well.
Short, long and curly fur: change the stroke
The coat type changes how you hold the pencil more than which colors you use.
| Coat type | Stroke | Tips |
|---|---|---|
| Short and smooth | Tiny dashes, close together | Shade smoothly first, then add a few dashes on top for texture |
| Long and silky | Long, curved flicks | Follow the waves of the lock; keep a light streak along each one |
| Curly or wiry | Small loops and C-shapes | Shade each curl like a little ball: light top, dark underside |
| Fluffy double coat | Soft, overlapping strokes | Keep edges broken and airy, never a hard outline |
On a short coat, the shape of the dog’s muscles matters more than the hair: shade the body like a smooth form and let the texture whisper. On a curly coat, forget hair direction almost completely and think in rows of small, round curls, each with its own highlight and shadow.
How do you color a white dog?
Color the shadows, not the dog. A white coat on white paper is defined only by the shadows between its clumps, so most of the page stays uncolored.
Use cool, soft colors for those shadows: pale blue-gray, light lavender, a touch of warm beige where the fur folds near the skin. Keep them very light and place them only where the fur turns away from the light, under the chin, behind the legs, between locks. A warm cream on the lit side can make the coat glow.
- Warm white
#FAF6EElit fur, mostly paper - Pale beige
#E9DCC6warm folds - Light blue-gray
#C9D2DCcool shadows - Soft lavender
#CFC6DAdeepest shadows
The most common mistake is reaching for a gray pencil and covering everything: the dog turns dull and “dirty”. If that happens, lift with the kneaded eraser, then add a slightly darker or more colorful background behind the dog so the white has something to stand against.
How do you color a black dog?
A black dog is almost never just black. Light reflects off a dark coat in blue, purple or warm brown tones, and those reflections are what make the fur look shiny and alive.
Start with an underlayer of dark blue or deep purple on the cool, lit side and dark brown on the warm, shadowed side. Leave the shiniest areas, often the top of the head, the shoulders and the back, in a lighter blue-gray. Then build black only in the deepest shadows and gaps between clumps, using firm but controlled pressure.
- Blue-gray
#6E7F96shine on lit fur - Deep indigo
#2B2F5Acool underlayer - Dark plum
#3E2A40transitions - Dark brown
#3A2618warm shadows - Black
#141414deepest gaps only
Black pencil used alone, edge to edge, flattens the coat into a silhouette. Five or six layers of dark colors, with black on top only where needed, look much deeper.
Eyes, nose and whiskers
The face is where people look first, so give it a little extra care.
- Eyes: keep one tiny round highlight white in each eye, on the same side as your light source, and color the iris dark brown with a darker rim. If you lost the highlight, add it back at the end with a white gel pen; our guide to coloring with gel pens shows how to place these small accents.
- Nose: a dog’s nose is dark gray to black with a soft highlight on top, because it is damp and shiny. Leave a small pale shape on the upper part and darken around it.
- Whiskers: do not draw whiskers on top of dark fur; they look like scratches. Leave them white by coloring around them, or add a few at the very end with a white gel pen.
- Inner ears: a warm pinkish beige makes the ear read as skin, with darker fur around the edge.
Patterned fur: when the coat is drawn as decorative shapes
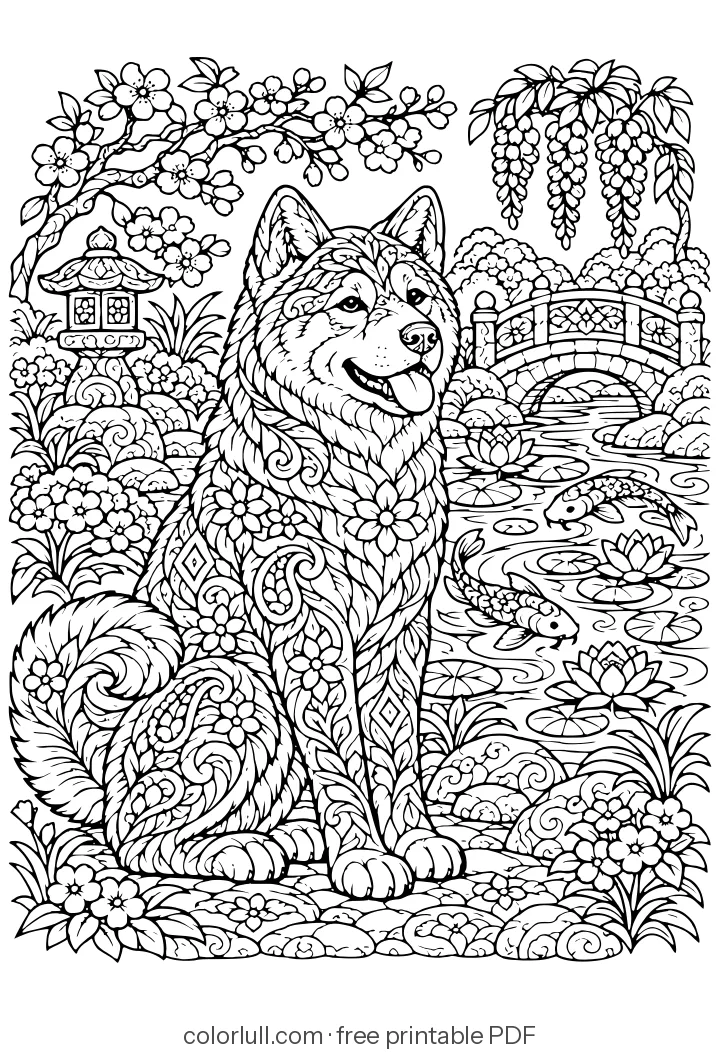
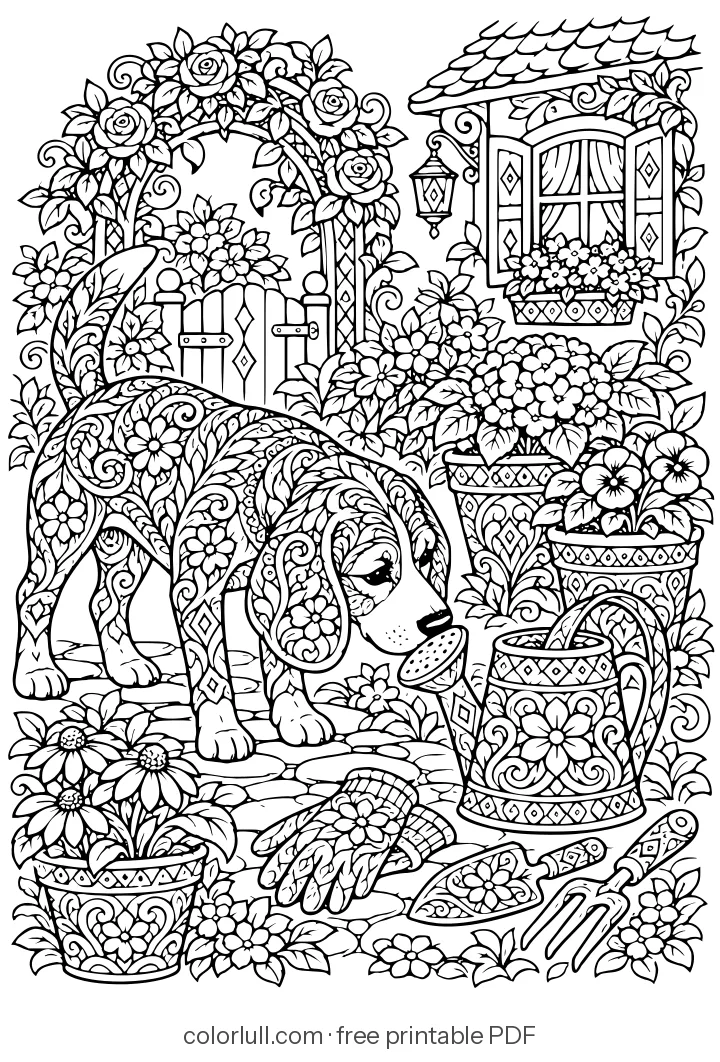
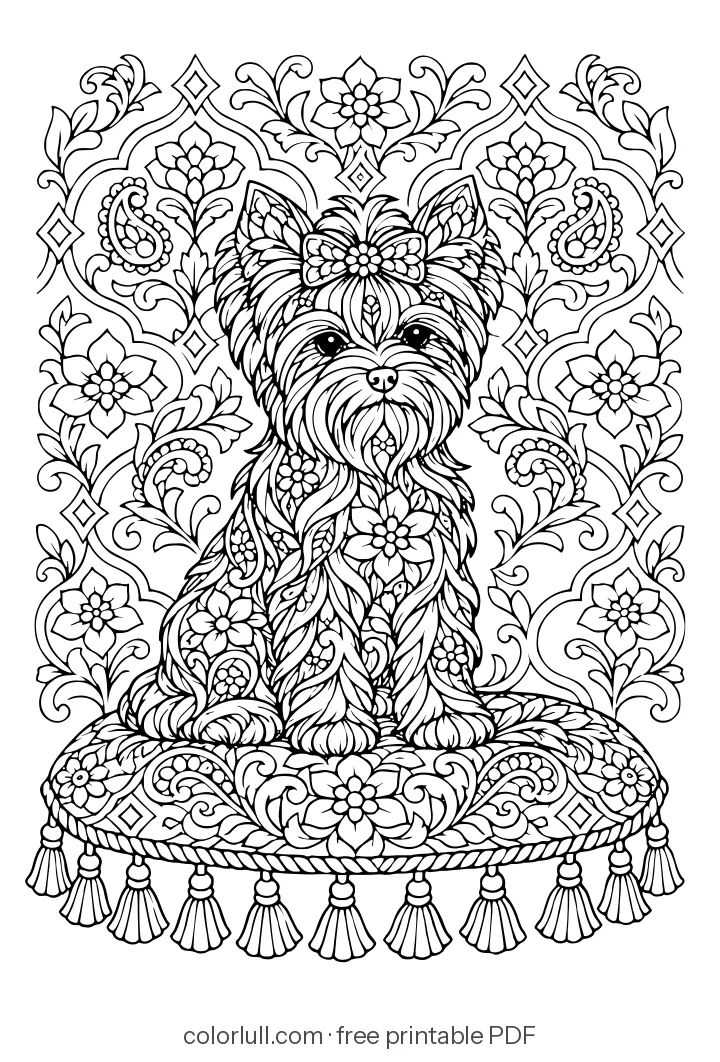
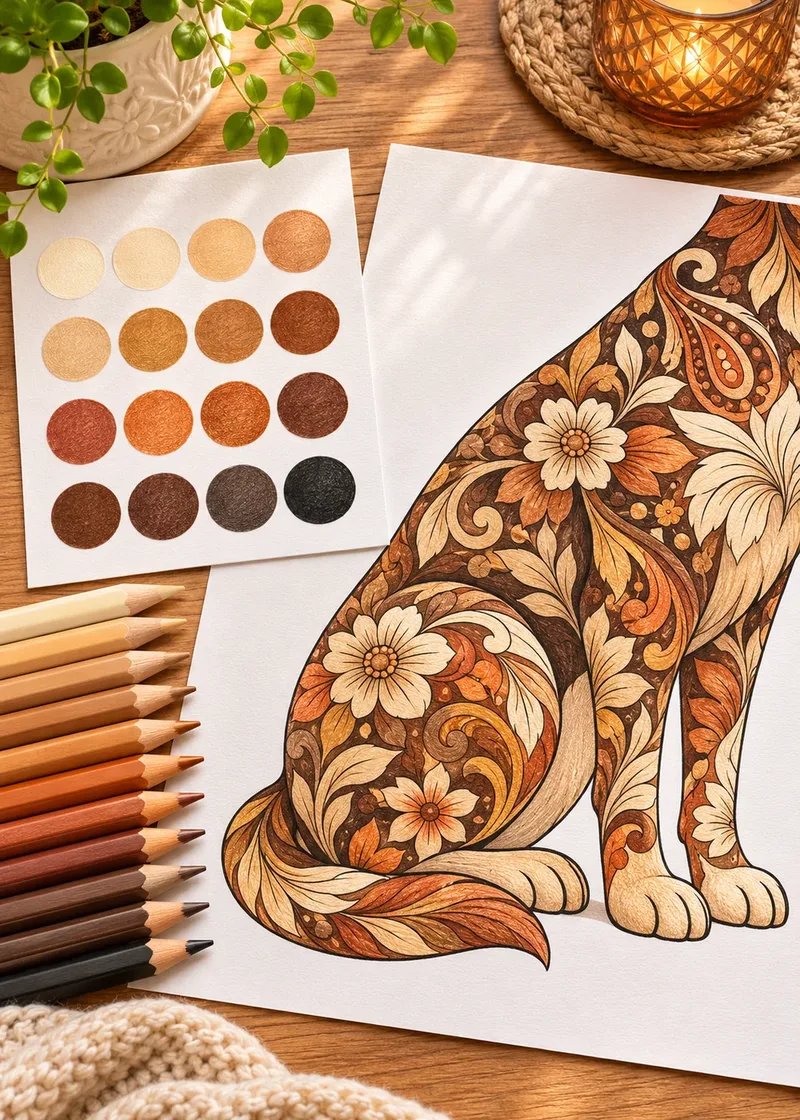
Many adult dog pages break the fur into florals, swirls, paisley and geometric shapes instead of drawing hair. You cannot flick strokes across those cells, but the same light-to-dark thinking still works. Two approaches give good results:
- Keep the real coat. Fill every cell with colors from the dog’s coat palette. Use the lightest pencil for cells on the top of the head, the back and the light side of the face, and the darkest for cells under the chin, the chest and the belly. From arm’s length the patterns read as a golden or chocolate coat; up close they stay decorative.
- Go fantasy, keep the anchors. Color the patterns in any palette you like, then keep the eyes, nose and mouth realistic. Those features are what make the page read as a dog.
Tip
Decide the light side before the first cell. Patterned coats go flat very quickly when every cell gets the same mid-tone.
Backgrounds that make a dog pop
A background is not required, but a simple one makes the coat look more three-dimensional. The rule is contrast: a light dog against a medium or dark background, a dark dog against a light one. A soft, slightly cool background, sky blue or sage green, makes warm brown fur look richer.
Keep the background simpler than the dog: a smooth gradient or a few soft shapes rather than detailed texture, so the fur stays the star. Coordinating the dog and the background is easier with a small plan; our guide to choosing a color palette helps you pick one in a few minutes.
Common problems and how to fix them
Most fur problems come from too much pressure too early or too little contrast.
- The coat looks waxy and won’t take more color. The paper’s tooth is full. Gently lift the top layer with tape or a kneaded eraser and finish with lighter pressure. Our guide to fixing coloring mistakes covers wax buildup step by step.
- The fur looks like stripes. Your strokes are all the same length and angle. Add shorter strokes in between and vary the angle slightly.
- The dog looks flat. Your darks are not dark enough. Add the darkest color in the deepest gaps and under the chin, then compare.
- The white dog looks dirty. The shadows are too gray or cover too much. Lift them, switch to cool blue or lavender, and place them only in the folds.
- The coat looks like a solid shape. You skipped the clumps. Darken the bases between locks so each one separates from its neighbor.
Practice on a free animal page first
If you want to try these techniques before starting a detailed portrait, print one of our free printable coloring pages and color a single patch of fur five times, once per layer, so you can see the progression side by side. When you are ready for a full dog portrait, our coloring books collect detailed pages in one place.
Fur rewards patience more than talent. Work light, follow the lines, keep your whites, and each page will look a little more alive than the last.
Frequently asked questions
Which direction should I color dog fur?
Always in the direction the hair grows: away from the nose, over the head toward the ears, down the neck and along the back toward the tail. On a coloring page, the small interior lines of the drawing already show you that direction.
How do I color a white dog on white paper?
Color the shadows rather than the dog. Use very light blue-gray, lavender or beige only where the fur folds or turns away from the light, and leave the lit areas as bare paper. A medium-toned background helps the white coat stand out.
How do I make black fur look shiny?
Start with underlayers of dark blue, purple and brown, keep the shiniest areas in a lighter blue-gray, and add black only in the deepest shadows. The colorful reflections are what make a black coat look glossy instead of flat.
Can I color dog fur with markers?
Yes. Markers are good for an even base color, and colored pencils on top add the fur texture and the fine light strokes. Use a single-sided page or cardstock so any bleed-through does not spoil another design.
How many colored pencils do I need to color a dog?
Three or four per coat color is enough: a light, a mid and a dark tone, plus a very dark neutral for the deepest gaps. A white pencil and a kneaded eraser help you keep and recover the highlights.
How long does it take to color a detailed dog page?
It varies with the design and the coat. A simple dog can be finished in one relaxed evening, while an intricate portrait with long fur is often spread over several sessions.