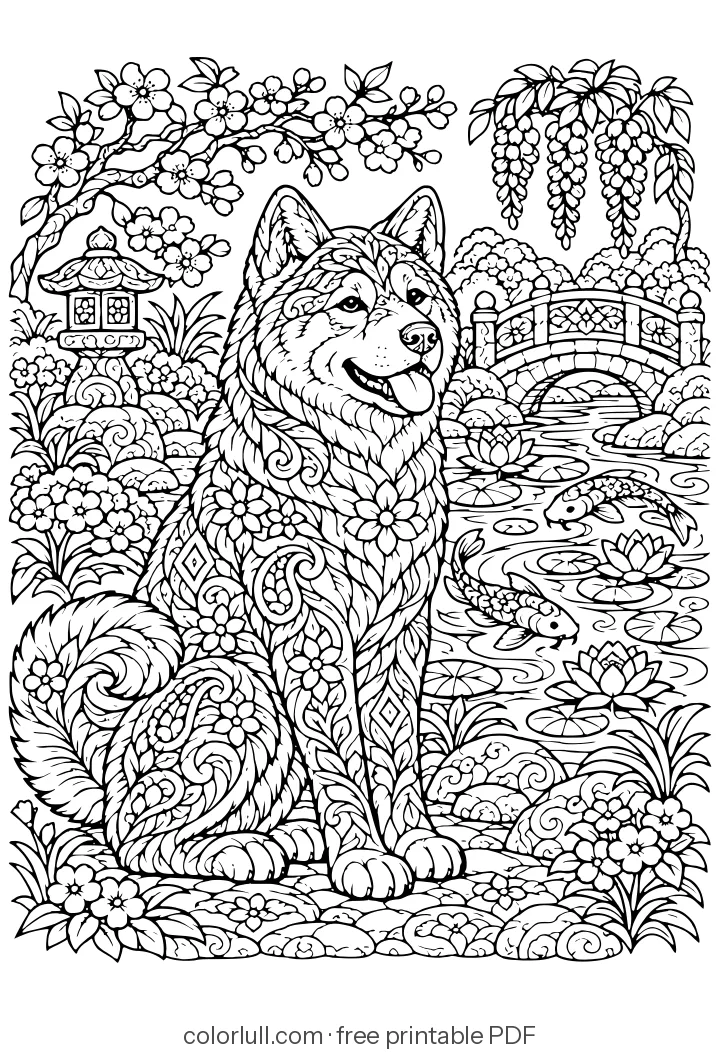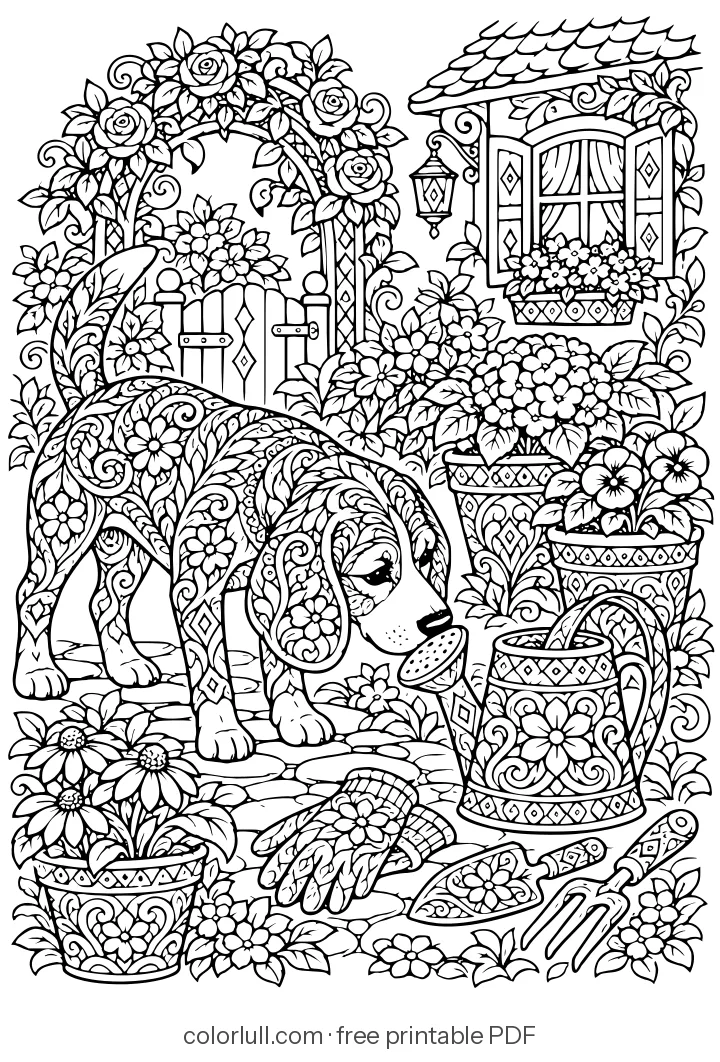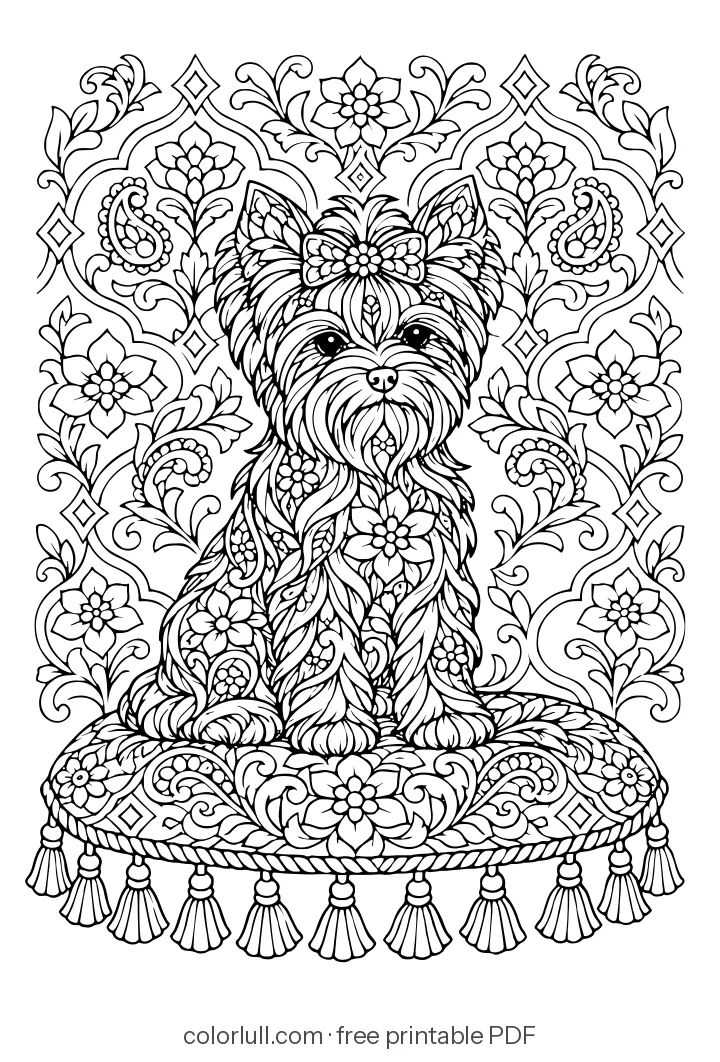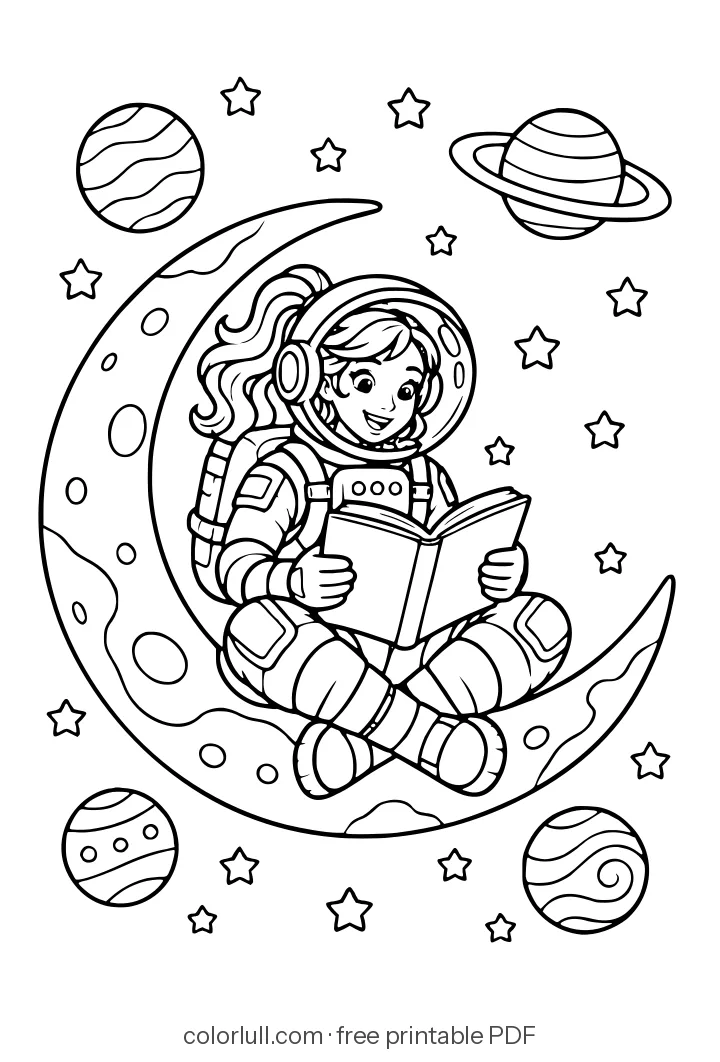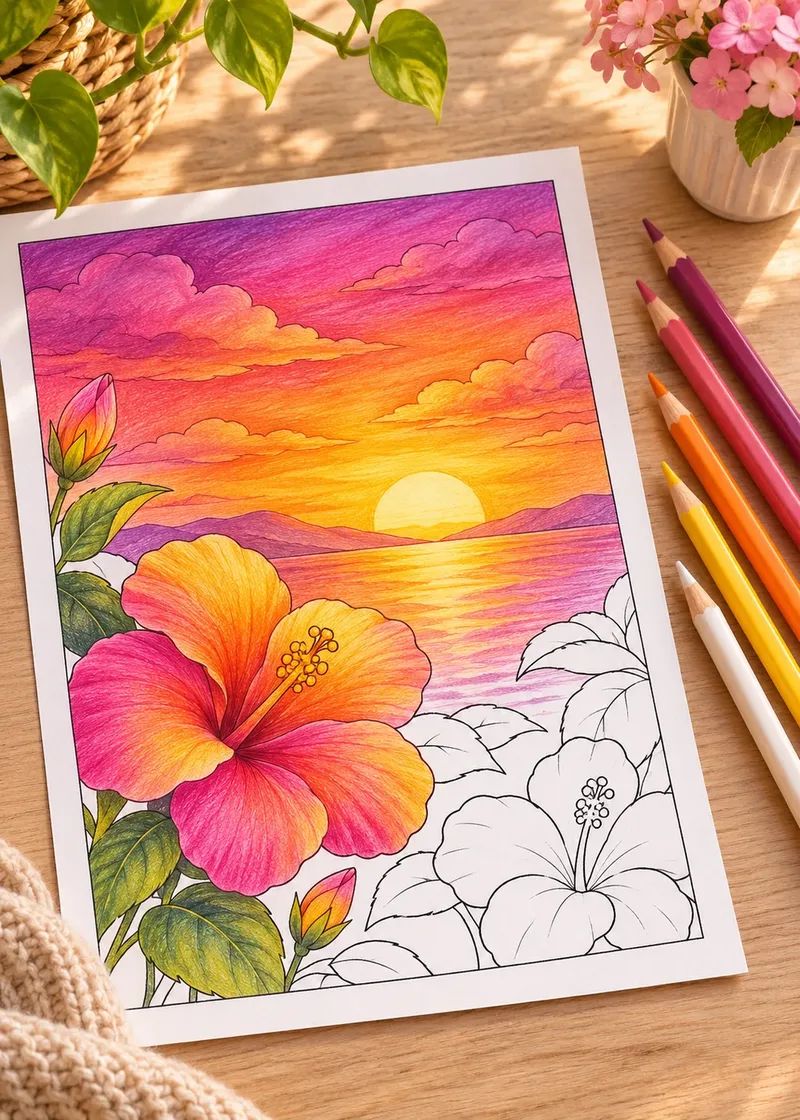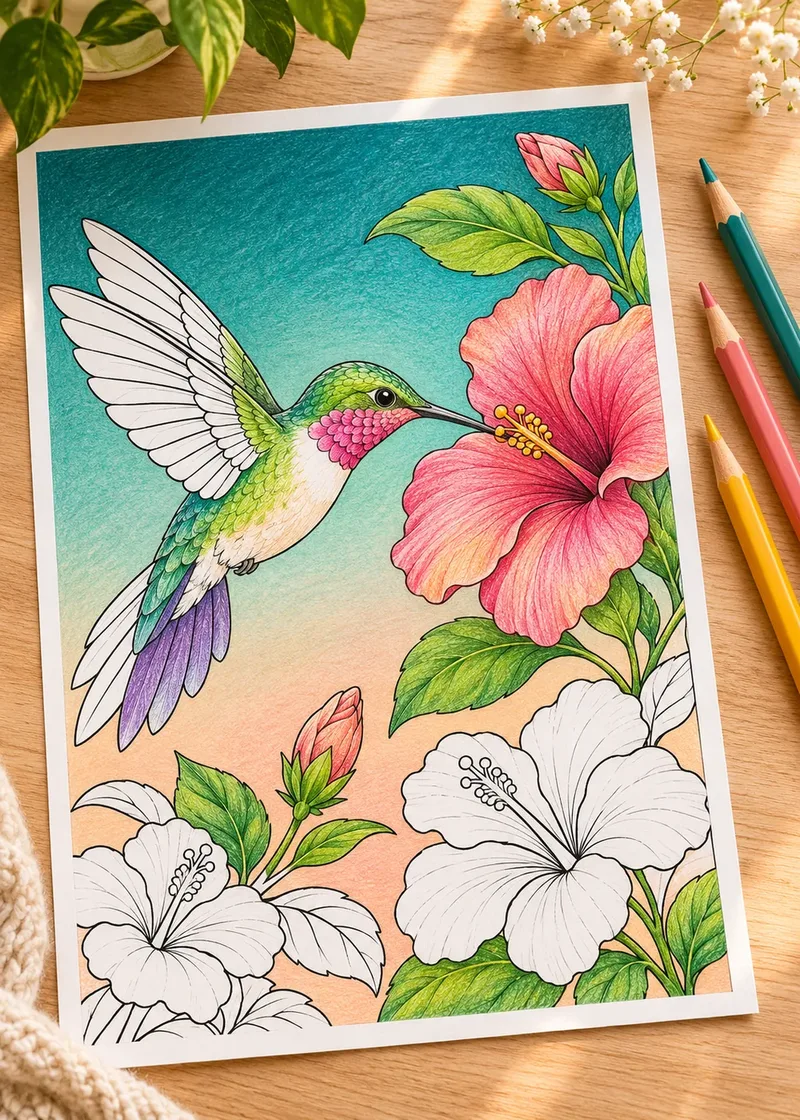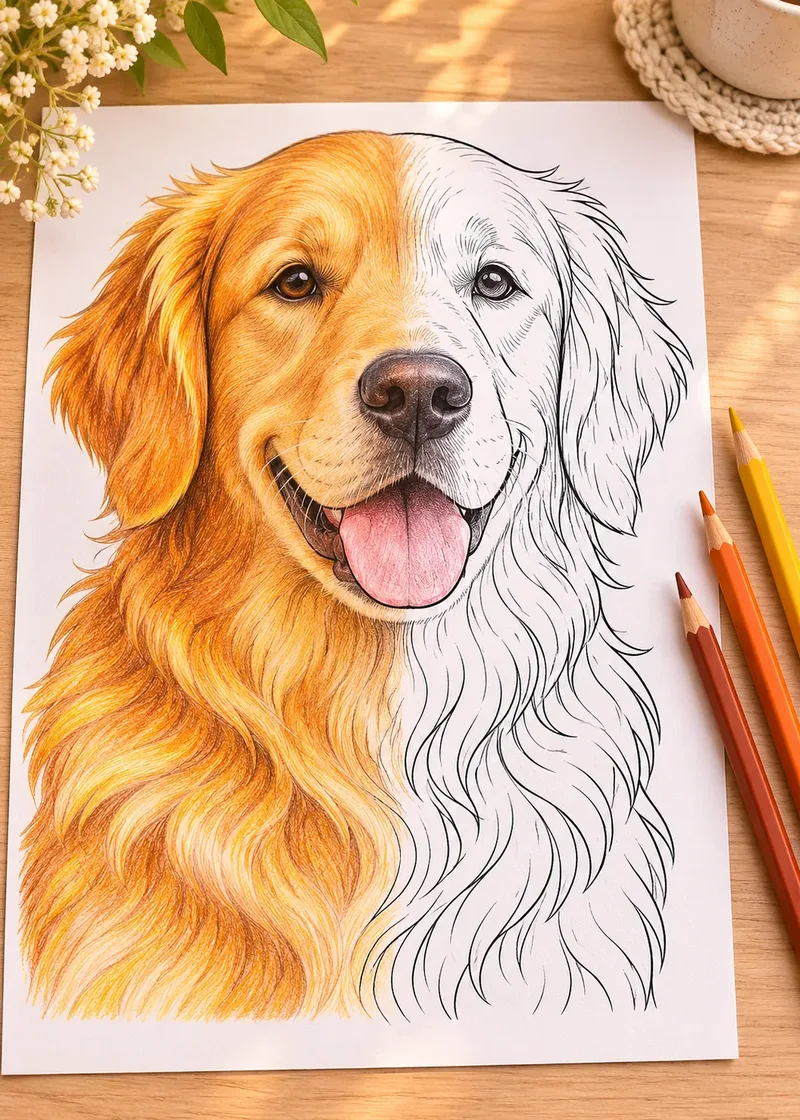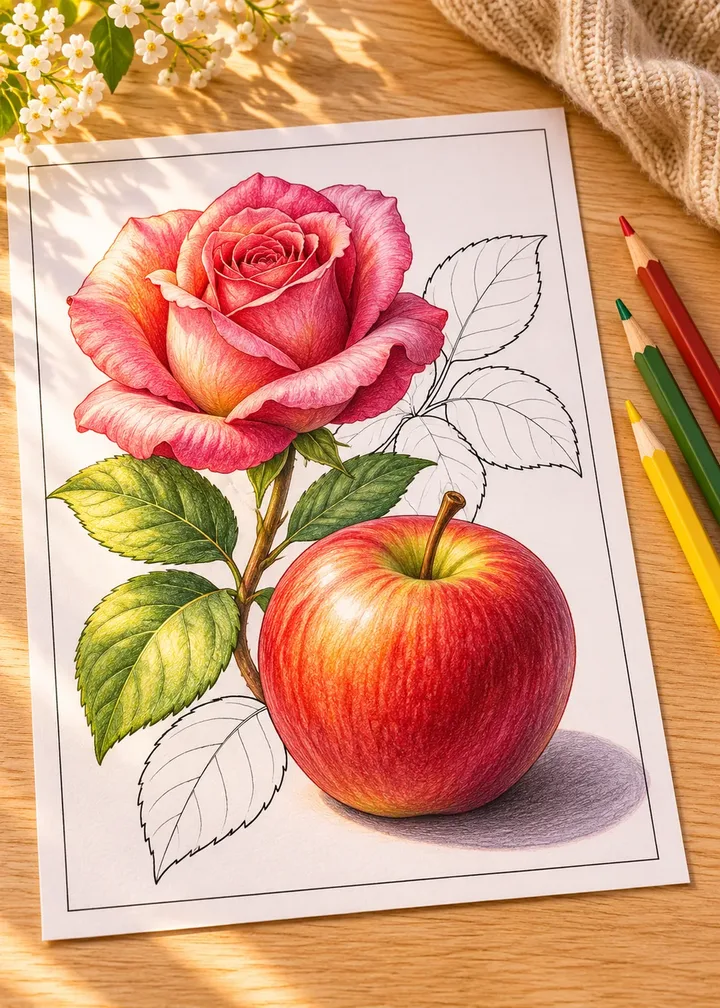
To shade coloring pages, pick one light source for the whole page, then darken each shape on the side facing away from that light, keep a small highlight on the side facing it, and add a soft shadow where the object touches the ground. Build the dark side gradually with a deeper version of the same color, not with black.
That idea works on every page: flowers, animals, mandalas, planets. This guide breaks it into five moves, shows how to shade the four shapes hiding in almost any line art (a ball, a stem, a petal, a clump of fur), and lists the mistakes that make shading look flat or muddy. Once the subject looks round, finish the page with one of these background ideas.
In short
- Choose one light source and mark it with a small arrow in the page corner.
- See simple shapes inside the drawing: spheres, cylinders, cupped petals.
- Every shape has five values: highlight, light, core shadow, reflected light, cast shadow.
- Shade with a darker or cooler version of the base color, not with gray or black.
- Build shadows in light layers; you can always add, but removing is hard.
What does shading mean on a coloring page?
Shading is the change from light to dark that tells the eye a shape is round, folded or standing on something. Flat coloring fills each space with one even color; shaded coloring lets that color lighten where light hits and darken where it turns away. Start with three zones:
- The light side, facing the light, with a small highlight that stays pale or white.
- The shadow side, facing away from the light, colored with a deeper tone.
- The cast shadow, the shape the object throws onto whatever it sits on.
Step 1: Pick one light source for the whole page
Before you color anything, decide where the light comes from. Upper left is the classic choice because it feels natural to most readers, but any direction works as long as you keep it for the entire page.
Draw a tiny arrow in the corner of the page pointing the way the light travels. It is the best shading habit there is: halfway through a busy page, it is easy to shade one flower from the left and the next from the right. The arrow keeps every shape consistent.
Use a desk lamp as your model
Place a lamp on the same side as your arrow and look at an apple or a mug under it. Notice where the bright spot, the dark side and the table shadow fall, then copy that logic.
Step 2: See simple shapes inside the line art
Almost everything on a coloring page is built from a few basic forms. Learn to shade these and you can shade nearly anything.
| Shape | Where you find it | How the shadow sits |
|---|---|---|
| Sphere | Berries, eyes, balls, planets, flower centers | Curved crescent on the far side |
| Cylinder | Stems, branches, legs, tails, tree trunks | Straight band along one long edge |
| Cupped petal | Tulips, roses, leaves, shells, ears | Deep inside the cup, light on the rim |
| Fur clump | Animal coats, manes, feathers, grass | Dark at the root, light at the tip |
How to shade a sphere
The sphere is the best practice shape because it shows every value at once. Berries, eyes and planets all follow these steps.
Shading a sphere
- Leave the highlight. Find the point facing your light arrow and leave a small spot of white paper there, about a fifth of the way in from the edge.
- Lay a light base. Cover the rest of the circle with your lightest tone, using light pressure and small circular strokes.
- Add the core shadow. On the side away from the light, darken a curved crescent that follows the outline, about a third of the way across.
- Keep reflected light. Leave a thin, slightly lighter rim between the core shadow and the very edge; light bouncing off the ground brightens it.
- Blend the middle. Soften the step between light and shadow with a medium tone so the change looks gradual.
For round planets in deep blues and violets, our night sky color palettes give you shadow colors that already sit well together.
How to shade a cylinder
Stems, branches and legs are cylinders. Their shading runs in bands along the length, never around the shape like rings.
Shading a cylinder
- Find the lit edge. On the side facing the light, leave a narrow strip of the lightest tone running the full length.
- Color the middle band. Fill the center with your base color at medium pressure.
- Darken the far edge. Add a deeper band along the side away from the light, strongest just inside the outline.
- Keep a thin rim. Leave a hairline of slightly lighter color right at the far edge for reflected light.
- Stroke along the length. Pull your pencil strokes in the same direction as the stem; it reads as smooth and round.
How to shade a cupped petal
Petals and leaves curve and fold: light catches the rim and the inside falls into shadow.
Shading a cupped petal
- Light the rim. Keep the outer edge of the petal, the part curling toward the light, at your palest tone.
- Darken the base. Shade the area where the petal meets the flower center or the stem; this is where it tucks out of the light.
- Shade inside the cup. Where the petal curves toward you, add a soft darker zone just below the curl.
- Mark the fold. If a petal folds over, darken the petal underneath right beside the fold line so the top one seems to lift off.
- Pull color outward. Blend from dark to light with strokes from the base toward the tip.
Our guide on how to color flowers realistically shows how to choose the petal colors themselves.
How to shade a clump of fur
On a coloring page, fur is usually drawn as clumps, and every clump is shaded the same way. For coat colors and stroke direction on a whole animal, see how to color dog fur.
Shading a fur clump
- Base the whole clump. Lay your lightest coat color over the entire clump with light pressure.
- Darken the roots. Add a deeper tone where the clump starts and where it tucks under the clump in front of it.
- Flick with the growth. Make short strokes that follow the direction of the fur, lifting the pencil at the end of each stroke so it tapers.
- Keep the tips light. Leave the ends of the clump at the base tone, or lift a few tips with a kneaded eraser.
- Shade the whole animal last. Darken entire clumps on the side away from the light so the body still looks round under the fur.
Fur is texture on top of a form: a dog’s chest is still round and a leg is still a cylinder, so shade the big shape first.
Step 3: Learn the five values of light and shadow
Artists describe light on a rounded object with five values. You met them all on the sphere:
- Highlight: the brightest spot, usually white paper.
- Light: the lit side, in the base color.
- Core shadow: the darkest band on the object, where the surface turns away from the light.
- Reflected light: a slightly lighter zone inside the shadow, near the edge, from light bouncing off the surface below.
- Cast shadow: the shadow thrown onto the ground or another object, darkest right under it.
The common beginner error is making reflected light too bright. Keep it one step lighter than the core shadow, or the object seems to glow from behind.
Step 4: Shade with color, not gray or black
Shading everything with black or gray is the quickest way to a muddy page. Black dulls the color underneath and, with wax-based pencils, it can smear. Try one of these instead:
- A darker version of the same hue. The simplest choice: shade a yellow with golden ochre, a pink with deep rose, a green with forest green.
- A cooler neighbor. Shadows usually look slightly cooler. Shade warm colors with a touch of their cooler neighbor: orange toward red-brown, green toward blue-green.
- A light layer of the complement. A thin layer of the opposite color on the color wheel deepens a shadow without graying it, for example violet over yellow or green over red. Keep it light; heavy complements turn brown.
| Base color | Shadow color to try | Why it works |
|---|---|---|
| Yellow | Ochre, then a whisper of violet | Darkens yellow without turning it green |
| Red | Crimson, then deep plum | Stays rich instead of brown |
| Green leaf | Forest green, then blue-green | Cool, natural leaf shadow |
| Skin or fur, warm | Sienna, then a light cool brown | Warm form, soft shadow |
Here is a ready-made palette for a red berry or apple, light to dark:
- Blush pink
#F6C1C1highlight edge - Bright red
#D93A3Alit side - Crimson
#A3202Fcore shadow - Deep plum
#5E2440darkest accent - Violet gray
#6E6A86cast shadow
If choosing the colors themselves is the hard part, our guide on how to choose a color palette walks through the color wheel.
Value matters more than hue
A shadow works when it is darker than the lit side. If your shadow color is a different hue but about as light as the base, the shape will still look flat. Squint at the page: the shadow side should read as clearly darker.
Step 5: Add cast shadows and contact shadows
A well-shaded shape still floats if nothing sits under it. Two small shadows fix that.
- Cast shadow: on the side away from the light, draw a soft shape on the ground in a muted, cool color, such as violet gray or blue gray. It is darkest close to the object and fades as it stretches away.
- Contact shadow: right where the object touches the surface, add a very thin, very dark line. This is what makes a vase sit on a table or a paw rest on grass.
Cast shadows also fall on other objects: darken a lower leaf right beside the edge of the leaf above it, and the two separate instantly.
How to shade mandalas and flat patterns
Mandalas and geometric patterns have no real light source, but you can still add depth. Wherever one band passes over another, shade the band underneath right next to the crossing, as if it tucks below. Darken each petal slightly at its base, where it meets the inner ring, and keep the tips light.
Keep the shading direction the same in every repeat so the symmetry holds. Our guide on how to color mandalas shows this ring by ring.
Smooth shading with colored pencils and markers
How you lay color down decides whether a gradient looks smooth or streaky.
- Colored pencils: use light pressure and several layers rather than one heavy pass, in small overlapping circles or short strokes in one direction. Save heavy pressure for the final layer: it flattens the paper’s tooth. Our guide to colored pencil blending for beginners covers layering, burnishing and colorless blenders.
- Alcohol markers: use two or three markers of one color family. Lay the light one, add the darker one in the shadow, then go over the edge with the light marker while both are wet.
- Water-based markers: they blend less, so add the shadow with colored pencil on top once the ink is dry.
Shade three shapes in ten minutes
On scrap paper, draw a circle, a short tube and a petal. Add a light arrow and shade all three with two pencils: a base color and its darker version. Then repeat with the arrow on the other side.
Common shading mistakes and how to fix them
- Shading all around the outline. A dark ring on every edge looks like a sticker. Shade only the side away from the light.
- Two light sources. Check your corner arrow before each new shape.
- Black in every shadow. Use a darker or cooler version of the base color.
- Too much contrast too soon. Heavy first layers cannot be lifted. Build up slowly.
- No highlight. Protect a small white spot on each round shape, or add it back with a white gel pen.
- Forgetting the cast shadow. Objects float. Add a soft cool shadow under each one.
If something has already gone too dark, our guide to fixing coloring mistakes explains how to lift and cover color.
How to shade coloring pages: a practice plan
Choose a page with a few clear shapes, such as a single flower or one animal; our free flower and animal coloring pages suit this well. Draw your light arrow, lay a light base over every shape, add core shadows, then cast shadows, and finish with blending and highlights.
Shading rewards patience more than talent. After two or three pages with the same light direction, you will see the shadow side of a shape before you pick up a pencil.
Frequently asked questions
How do I decide where shadows go on a coloring page?
Pick one light direction, for example upper left, and mark it with a small arrow in the corner. Every shape is then darker on the side facing away from that arrow, and casts its shadow on that side too.
Should I use black or gray for shadows when coloring?
Usually not. Black and gray dull the colors underneath. Shade with a darker version of the same color, a cooler neighbor, or a thin layer of its complement; keep black for the tiniest contact shadows.
How do I make my coloring look 3D?
Combine three things: a gradient from light to dark on each shape, a small highlight left white, and a cast shadow where the object meets the ground. Keep the light direction the same across the whole page.
Do I shade before or after blending?
Lay the base color first, add the shadow tones, then blend the transition between them. Highlights from a white gel pen and fine details go on last, after blending.
Can I shade with markers?
Yes. Use two or three markers from the same color family, light to dark, and blend the edge with the lighter marker while the ink is still wet. Going over an area again with the same marker also darkens it slightly.