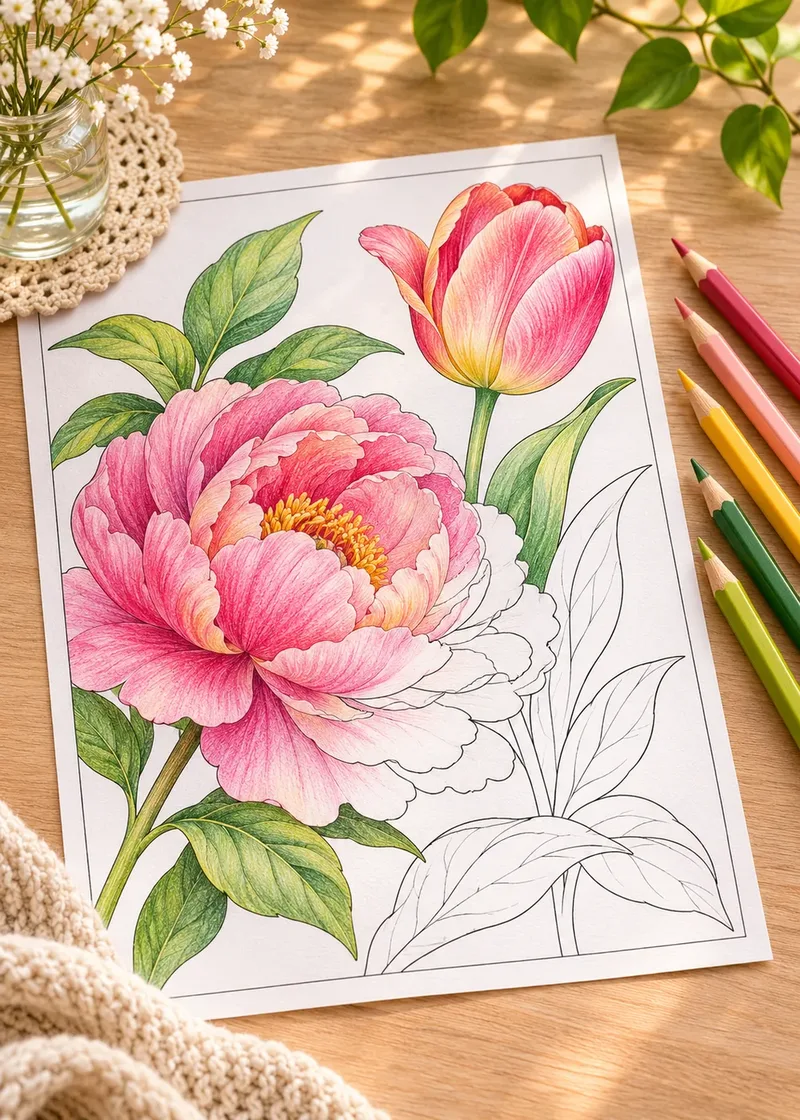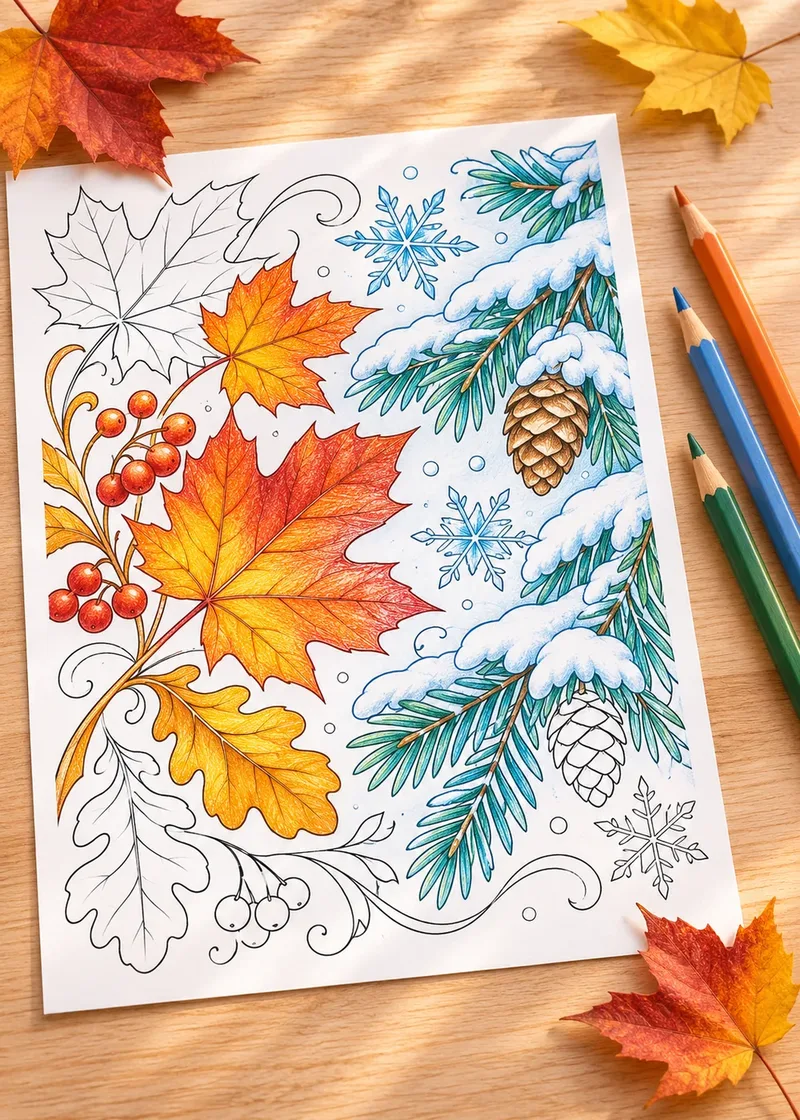
Every colorist has a page with a stray line across a petal, a color that looked wonderful on the pencil and terrible on the paper, or a marker streak right in the middle of the sky. Knowing how to fix coloring mistakes takes the pressure off: most of them can be fixed or hidden, and the rest can be avoided next time with a small change of habit.
This guide goes through the most common coloring mistakes one by one, with a quick fix for the page in front of you and a tip to prevent the problem on the next one.
In short
- Step back before fixing anything: most slips vanish at arm’s length.
- Hide stray marks by extending shapes or thickening lines.
- Change a wrong color by layering over it, or repeat it on purpose.
- Lift waxy pencil with removable tape, then add light layers.
- Cover small marker slips with an opaque white or light pen.
- On a printable page, the calmest fix is a fresh copy.
First, take a step back
Before you fix anything, put the page down for a few minutes or look at it from across the room. Mistakes that seem huge up close are often invisible at a normal viewing distance. The eye sees the whole page, not the one shape you have been staring at.
If the mistake is still bothering you after a short break, pick one of the fixes below.
Quick fixes at a glance
| Mistake | Quick fix | Avoid it next time |
|---|---|---|
| Outside the lines | Lift with a kneaded eraser, or extend the shape | Outline just inside the line first |
| Wrong color | Layer a complement or neutral over it | Test the palette in the margin |
| Waxy pencil | Removable tape lift, then light layers | Light pressure until the last layers |
| Streaky marker | Rework while wet in small circles | Keep a wet edge, small sections |
| Bleed-through | Protect the next page, darken the edge | Heavier paper, blotter sheet |
| Smudges | Dab with a kneaded eraser once dry | Scrap sheet under your hand |
| Flat page | Add darks and highlights | Plan one light and one dark value |
Coloring outside the lines
The fix: If the stray mark is small and in pencil, a kneaded eraser or a soft white eraser can lift much of it. Press and lift rather than rubbing hard. If it does not come off, make it part of the design: thicken the outline slightly with a fine black pen, or extend the shape so the stray color looks intentional. Small leaves, dots or swirls can hide a slip in the background.
Next time: Outline each shape first, just inside the line, then fill the middle. Color edges with the pencil slightly tilted and lighter pressure, and rotate the page so your hand moves comfortably.
How do you fix a color that looks wrong?
You can rarely erase a color, but you can change it. Layering transforms colors more than most people expect:
- A too-bright color calms down under a light layer of its complement (a touch of green over a loud red) or a gray.
- A too-dark area can be lifted slightly with a white pencil pressed firmly on top, or turned into a deliberate shadow.
- A color that does not fit the rest of the page becomes acceptable if you repeat it in two or three other places.
Next time: Choose your palette before you start and test it in the margin. The guide on how to choose a color palette for any coloring page walks through a simple method.
Waxy, shiny pencil that will not take more layers
This happens when you press hard too early and flatten the tooth of the paper. New layers slide around instead of sticking.
The tape lift
- Choose a gentle tape. Use removable tape or low-tack masking tape; test it on the margin first so it does not tear the paper.
- Press, do not rub. Lay the tape on the waxy area and press lightly with a fingertip.
- Lift slowly. Peel the tape away at a low angle; some pigment comes off with it.
- Repeat with fresh tape. Two or three passes are usually enough to bring back some tooth.
- Recolor lightly. Add the new color with light pressure and build up slowly.
If tape is too fiddly, a clean, sharp craft blade held almost flat can scrape a thin layer away; go slowly and keep fingers clear. Or embrace the shine: burnish the area fully so it looks smooth and polished.
Next time: Build several light layers before you use firm pressure. The guide to colored pencil blending for beginners explains the pressure steps in detail.
Streaky markers
Marker streaks appear when one stroke dries before the next one overlaps it.
The fix: Go over the area again with the same color, working quickly in small circles so the ink stays wet as you go. For water-based markers, a second pass after the first is dry also helps. If the streaks remain, add a darker shade over part of the area to turn them into texture or shadow.
Next time: Keep a wet edge. Color small sections in one continuous motion, and use paper suited to markers. Heavier paper absorbs ink more evenly; see the guide to the best paper for printing coloring pages.
How to cover a marker mistake
Marker ink cannot be erased, but it can be covered.
- Small slips over a light area: an opaque white gel pen or a light opaque paint pen covers a thin line. Let it dry, then add pencil on top if needed.
- Slips onto the background: turn them into a pattern. Add the same mark in two or three other places so it reads as a design choice.
- A whole shape in the wrong color: go darker. A darker marker or dense pencil over the top hides the first color better than any lighter one.
Our guide to coloring with gel pens explains how white and opaque inks behave over other media.
Ink bleeding through the page
The fix: On the current page, there is not much to do except protect what lies underneath. If the bleed shows on the front around the edges of a shape, a slightly darker outline can hide it.
Next time: Print on heavier paper or cardstock, keep a spare sheet beneath the page, and test markers in a corner first. Alcohol markers almost always bleed through thin paper, so plan for it. Our guide to coloring books for markers explains how to choose pages that cope.
Printed page or book page?
On a page you printed at home, a big mistake is a five-second fix: print a new copy, or try a test palette on the spare. In a book, protect the next page with a blotter sheet and work with the fixes above.
Smudges and fingerprints
Graphite from a sketch, wet gel ink and soft pencil can all smudge.
The fix: Wait until any ink is fully dry. Lift loose pigment with a kneaded eraser, dabbing rather than rubbing. Dark smudges in light areas can sometimes be covered with a light opaque color or a white pencil.
Next time: Work away from your drawing hand, rest your hand on a scrap sheet, and let gel ink dry before touching it. Washing your hands before a session also keeps light areas clean.
A page that looks flat or dull
Sometimes nothing is technically wrong, but the page lacks life.
The fix: Add contrast. Pick your darkest color and use it in the deepest areas: where shapes overlap, under petals, at the center of a mandala. Then add highlights with a white pencil or white gel pen on the areas facing the light. Our guide on how to shade coloring pages shows where those darks belong.
Next time: Include at least one dark and one light value in your palette, and plan where the light comes from before you start.
A background that overwhelms the subject
The fix: Calm the background with a light layer of a neutral or a cool color over it. Cooler, lighter tones recede, so the main subject will seem to come forward.
Next time: Keep the brightest and most saturated colors for the subject, and use softer, lighter or grayed versions for the background. The guide on how to color backgrounds compares eight approaches.
A tear, a crease or a spill
The fix: Small tears can be repaired from the back with clear tape. Creases flatten under a heavy book overnight. For a water spill, blot immediately with a paper towel and let the page dry flat under weight.
Next time: Keep drinks away from your coloring corner, and store finished pages flat in a folder.
Let some mistakes be
Not every mistake needs fixing. Coloring is meant to be a calm pastime, not a test. A tiny slip often becomes your favorite detail, the one that reminds you of the evening you colored the page. If you find yourself redoing the same area again and again, it may be time to move on and enjoy the rest of the design.
Patterned pages are the most forgiving place to practice: one odd tile disappears into the rest. Our free printable coloring pages are a relaxed way to try a new tool without worrying about mistakes.
Frequently asked questions
Can you erase colored pencil?
Partly. Light layers lift well with a kneaded eraser or a soft white eraser, pressed and lifted rather than rubbed. Heavy, burnished layers rarely come off fully, so cover or rework them instead.
How do you fix coloring outside the lines?
Lift what you can with an eraser, then hide the rest by thickening the outline slightly or extending the shape so the stray color looks intentional. A small leaf, dot or swirl in the background also hides a slip.
How do I fix colored pencil that is too waxy or shiny?
Press a piece of removable tape onto the area and lift it slowly to remove some pigment, then add color with light pressure. If that does not work, burnish the area fully and treat it as finished.
Can you cover marker mistakes?
Yes, with something opaque. A white gel pen or a light opaque paint pen covers thin lines, and a darker marker or dense pencil hides a whole shape colored in the wrong color.
How do I stop markers bleeding through the page?
Use heavier paper or cardstock for printable pages, place a spare sheet or blotter behind the page, and test each marker in a corner first. Alcohol markers usually bleed through thin paper.