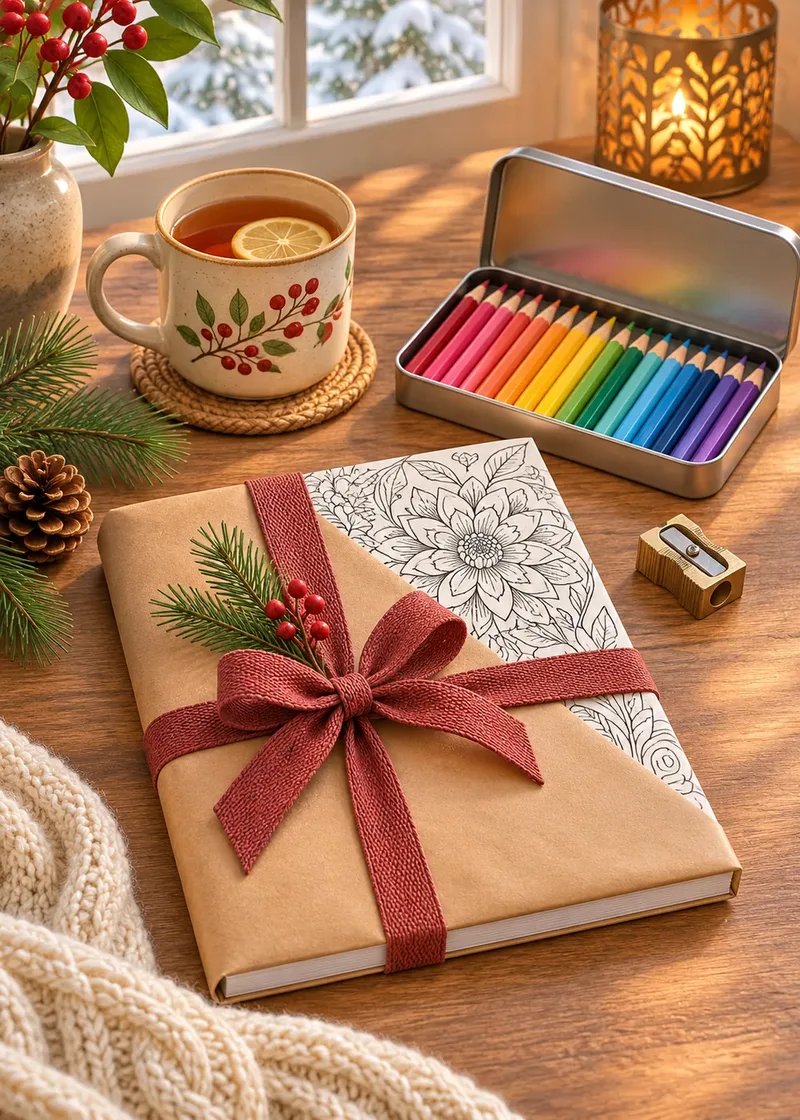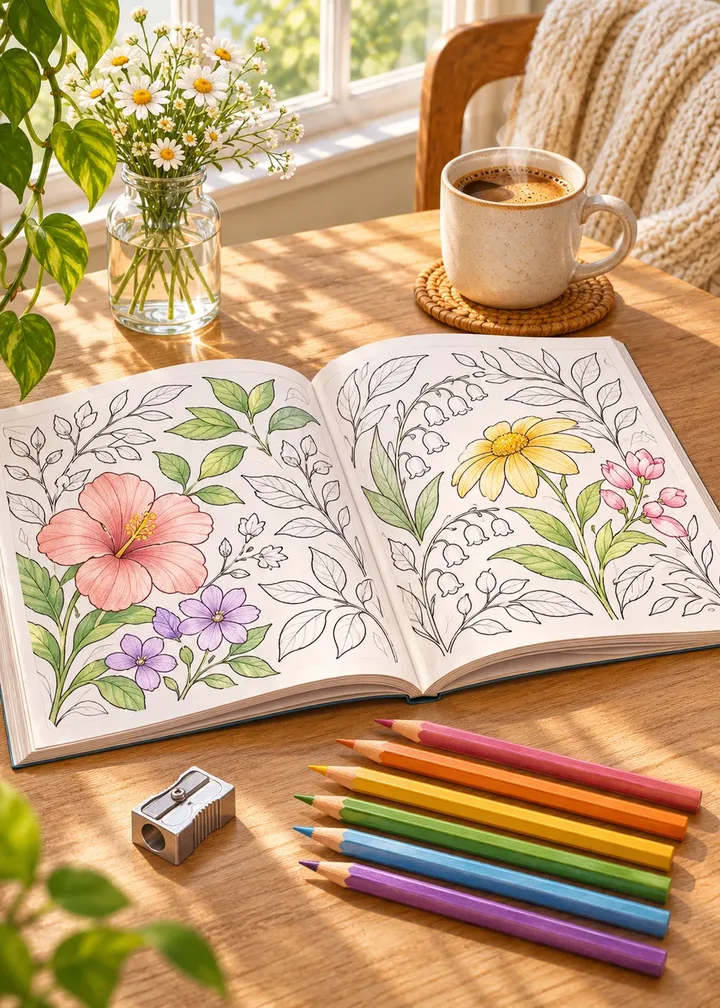
Coloring is one of the few hobbies you can start tonight with almost nothing. A printed page, a handful of pencils and twenty quiet minutes are enough. Still, a little guidance on adult coloring for beginners helps you skip the frustrating first attempts and get straight to the part where it feels good.
This guide walks you through the essentials: what to buy (and what to skip), how to choose a first page or book, a simple way to approach a page, a one-week plan and the habits that keep coloring relaxing rather than another thing to get right.
In short
- A basic set of 24 colored pencils, a sharpener and a few printed pages are enough to start.
- Pick a first design with medium to large shapes and clear outlines.
- Choose three to five colors, work from light to dark and leave some white.
- Keep sessions short at first: fifteen to thirty minutes.
- Add markers, gel pens and intricate pages later, once you know what you enjoy.
Why adults enjoy coloring
Coloring sits in a sweet spot. It asks for enough attention to pull you away from screens and to-do lists, but not so much that it becomes work. The outlines are already there, so you never face a blank page. You make small, easy choices, one shape at a time, and you see progress within minutes.
Many people describe it as a way to slow down at the end of the day. That is a fair description: it is a calm, absorbing activity, not a treatment for anything. Think of it as a pleasant pause, like a walk or a cup of tea, that happens to leave you with something colorful.
What you need to start adult coloring
You do not need a studio. Start small and add tools only when you know what you enjoy.
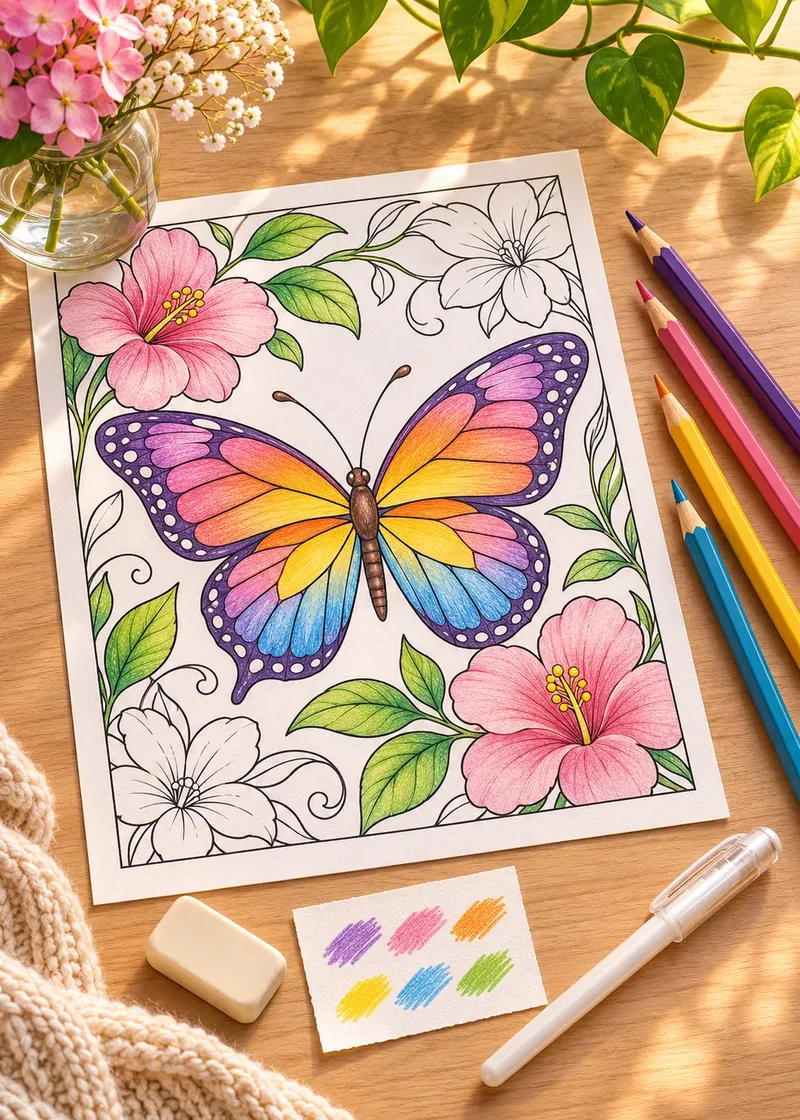
- A set of colored pencils. A basic set of 24 is plenty. Look for pencils that feel smooth rather than scratchy, and that leave color without pressing hard.
- A good sharpener. A small handheld sharpener with a sharp blade is better than a dull electric one. Sharp points make edges clean.
- A few printed pages. Printing at home on decent paper works well, and it means you can try a design without worrying about ruining a book.
- A soft eraser for light pencil marks, and a scrap sheet to test colors.
Markers and gel pens are fun later on. Markers give bold, even color but can bleed through thin paper; gel pens are great for small accents. For the first few weeks, pencils are the most forgiving choice because you can build color slowly. When you are ready, our guide to coloring with gel pens shows how to add bright details.
| Tool | Why a beginner might like it | Watch out for |
|---|---|---|
| Colored pencils | Forgiving, build color slowly, easy blending | Need sharpening; heavy pressure fills the paper |
| Water-based markers | Bright, fast, even color | Streaks; can show through thin paper |
| Alcohol markers | Very smooth, blendable color | Almost always bleed through thin paper |
| Gel pens | Bright accents, metallic and white inks | Slow to dry; best on small shapes |
Simple vs intricate: choosing your first page
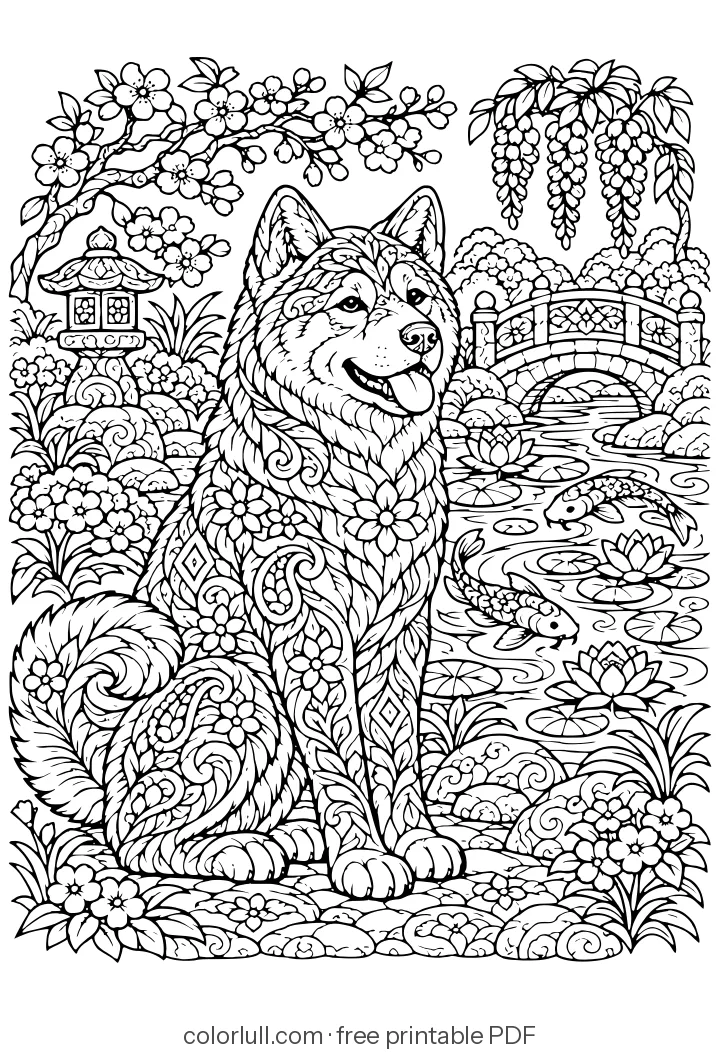
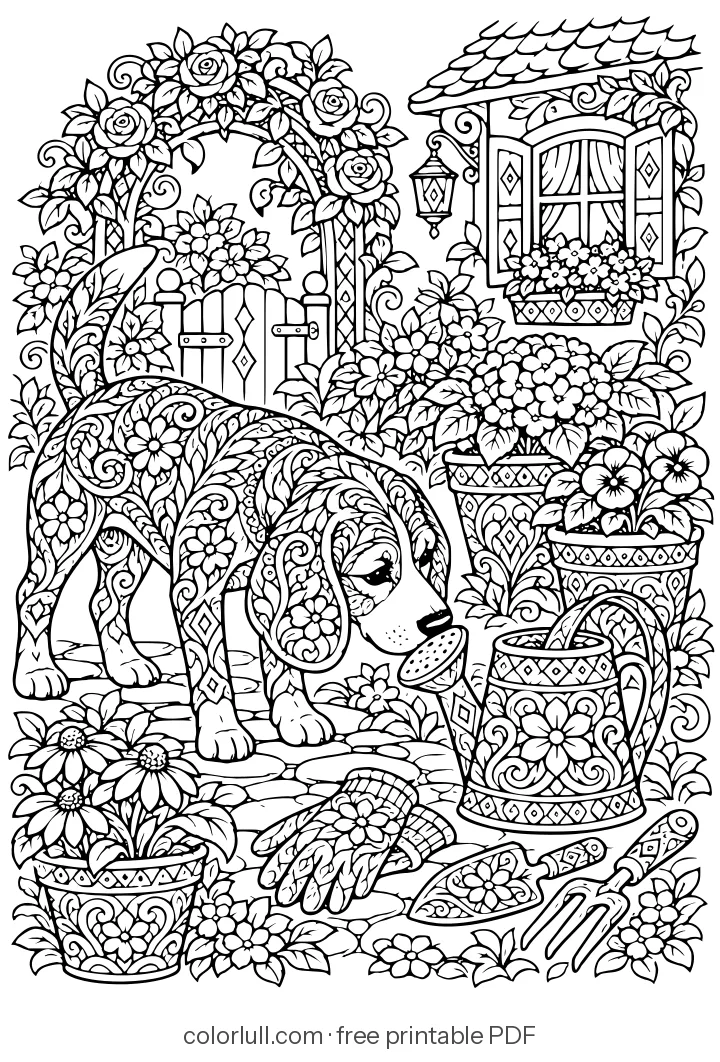
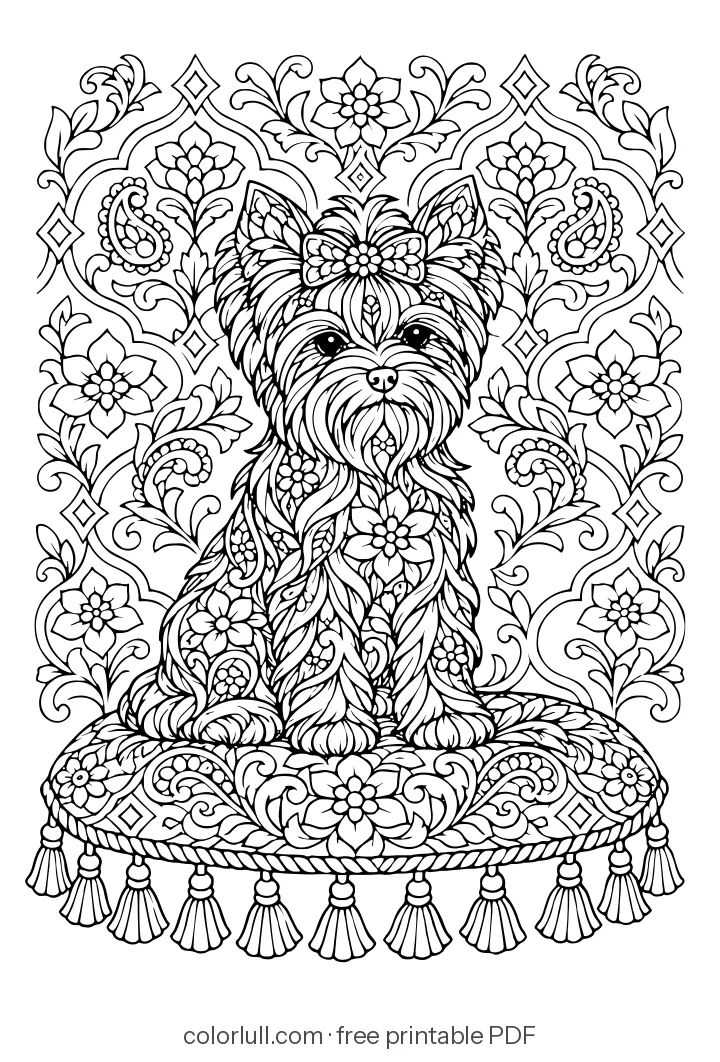
The most common beginner mistake is picking a design that is far too detailed. Tiny spaces look beautiful in photos, but they are tiring to fill and easy to abandon halfway.
For a first page, look for:
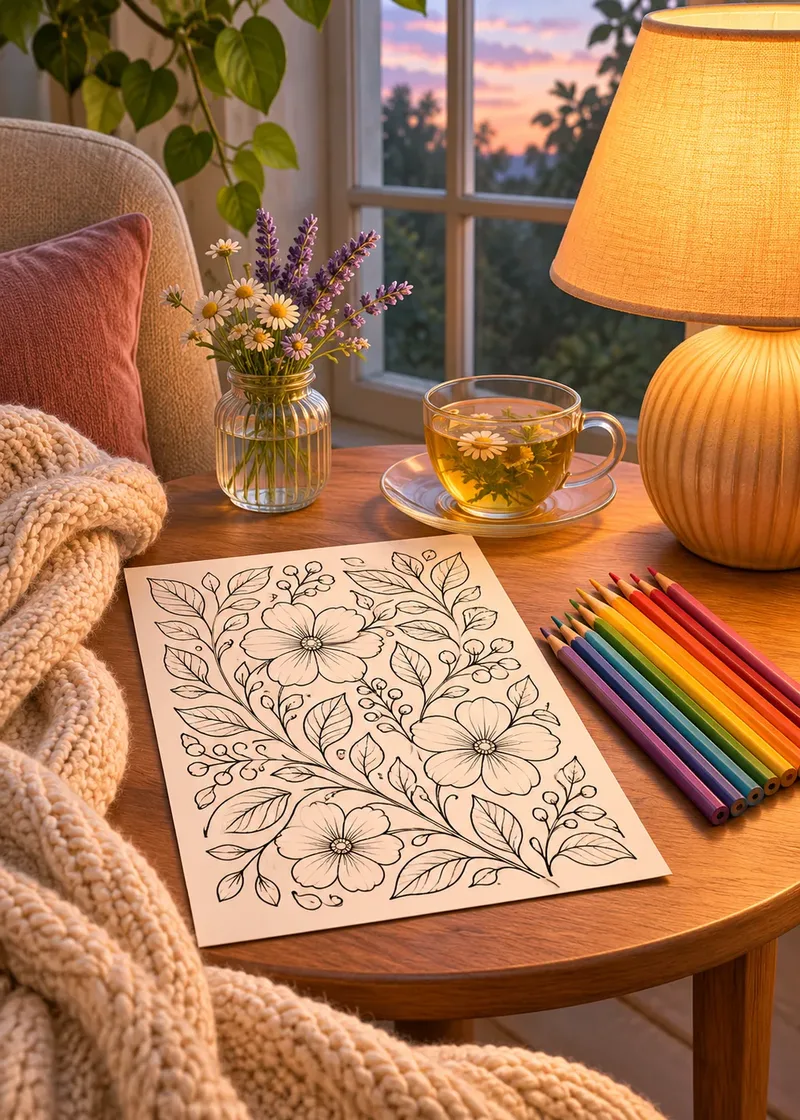
- Medium to large shapes. You should be able to fill most spaces with a few relaxed strokes.
- Clear, closed outlines. Bold lines make it easy to stay inside the shapes without straining.
- A subject you like. Flowers, mandalas, animals, cozy houses: pick something that makes you want to start.
Simple mandalas are a great first choice. They are symmetrical, so you can repeat the same color around the circle, and they look finished even with a small palette. Our guide to coloring mandalas covers symmetry and palettes in detail, and our free printable coloring pages are a gentle place to begin.
Intricate pages, with hundreds of tiny shapes, are wonderful once your hand is used to small spaces. Split them over several sessions and treat them as a longer project.
How to choose your first coloring book
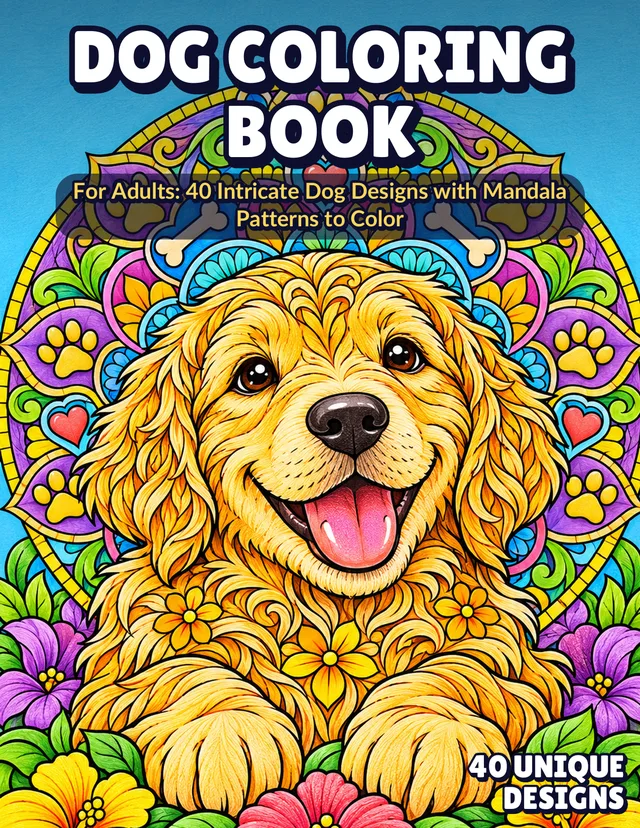
A book is a lovely next step after a few printed pages. A few things make a real difference:
- Single-sided pages. Each design on its own page, with a blank back, so markers or heavy layers never ruin the design behind.
- Paper you can work on. Thicker, smooth-to-slightly-toothy paper takes more pencil layers. If you plan to use markers, read our guide to coloring books for markers.
- The right level of detail. Look at sample pages before you choose: bold and easy, medium, or intricate.
- A theme you love. You will spend hours with these pages; animals, flowers, patterns or night skies all make good companions.
If you are choosing for a child at the same time, our guide on how to choose a coloring book for kids covers line thickness and age ranges. And if you are shopping for a friend who colors, see our gift ideas for adult colorists.
A simple method for your first page
You do not need a technique to enjoy coloring, but a loose plan keeps you from freezing in front of the page.
Your first page
- Pick three to five colors. One main color, one or two companions and a light accent; a small palette almost always looks more harmonious than every pencil in the box.
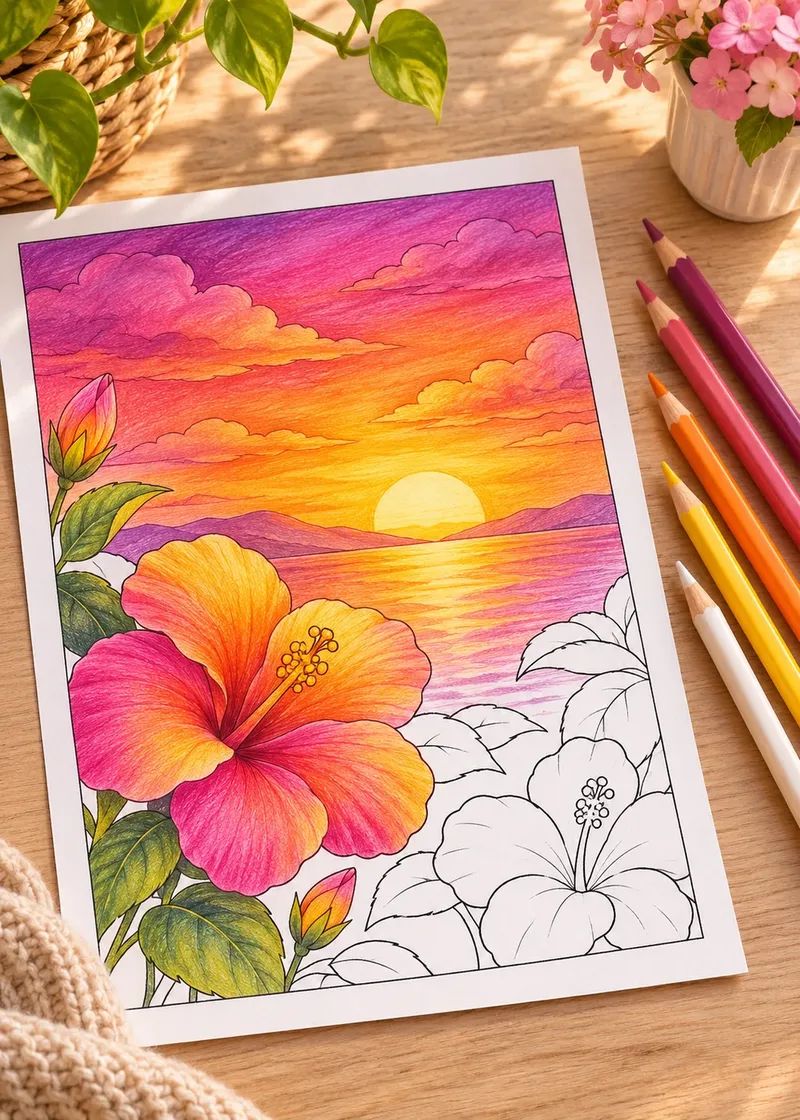
- Work from light to dark. Lay down light colors first with gentle pressure; it is easy to darken an area later and very hard to lighten one.
- Color in small circles or short strokes. Small overlapping circles give smooth, even coverage; follow the shape of the space and slow down near the outlines.
- Add a few darker touches. Go back with a deeper color where shapes overlap or tuck underneath, to give the page some depth.
- Leave some white. Not every space needs color; a few white areas give the page room to breathe and make the colored parts glow.
If you are unsure which colors go together, start with neighbors on the color wheel, like blue, teal and green. Our guide on how to choose a color palette goes further.
A 7-day starter plan
A week of short sessions is enough to find what you enjoy. About twenty minutes a day:
| Day | Try this |
|---|---|
| Day 1 | Color a simple mandala with three colors |
| Day 2 | Make a value scale: one pencil, light to heavy pressure |
| Day 3 | Color a flower or leaf with a two-color gradient |
| Day 4 | Same page as Day 1, new palette: compare the two |
| Day 5 | Try a pattern page and leave some shapes white |
| Day 6 | Add a soft background behind a simple subject |
| Day 7 | Pick your favorite page and finish it calmly |
For day 3, follow our guide to colored pencil blending; for day 6, the guide on how to color backgrounds gives easy options.
How long should a session be?
There is no right answer, but short sessions work best at first. Fifteen to thirty minutes is enough to settle in without your hand getting tired. Stop while it still feels pleasant; a half-finished page is an easy invitation to come back tomorrow.
If you find yourself rushing to finish, put the pencil down. The point is the time spent, not the finished picture.
Common beginner worries
“I am not creative.” You do not need to be. The design is done for you; you are only choosing colors. Many people discover they enjoy color choices far more than they expected.
“My colors look patchy.” That is normal on a first layer. Add a second light layer in a slightly different direction, and the patches blend away.
“I went outside the lines.” Nobody will notice. A slightly darker outline or a small decorative dot can hide most slips; our guide on how to fix coloring mistakes has many more fixes.
Printed pages take the pressure off
With a printable page, nothing is precious: if a page goes wrong, print another and try a new palette. Many colorists keep a favorite design and color it several times.
Making it a habit
The easiest way to keep coloring is to make it effortless to begin. Keep your pencils and a printed page in one spot, ready to go. Pick a regular moment, like after dinner or on a Sunday morning. Some people pair it with a podcast, quiet music or a warm drink.
If evenings are your time, you might like our ideas for a calm evening coloring routine. Printing at home also lets you try many styles before buying a book: plain office paper works for pencils, and our guide on paper and printing at home covers settings and weights.
That is all it takes. The rest, from blending to bolder palettes, comes naturally with a few pages behind you. Enjoy the quiet.
Frequently asked questions
What do I need to start adult coloring?
A basic set of about 24 colored pencils, a sharp handheld sharpener, a soft eraser and a few printed pages or a coloring book. Markers and gel pens can come later.
Do I need expensive colored pencils to start?
No. A basic set that feels smooth and leaves color without heavy pressure is enough to learn. Upgrade later, one or two colors at a time, once you know which ones you use most.
What is the easiest coloring page for a beginner?
A design with medium to large shapes and bold, closed outlines, such as a simple mandala, a flower or a single animal. Save intricate pages for later.
How long does it take to color one page?
A simple page can take thirty minutes to an hour, an intricate one several hours over many sessions. Short sessions of fifteen to thirty minutes are a good start.
Is coloring good for adults?
Many adults find coloring a calm, screen-free way to unwind and to enjoy color. It is a relaxing hobby rather than a treatment, and you can enjoy it at any skill level.